
There's this tall, narrow wall in our living room where sun rays dance throughout the day on its rather blank canvas. We pondered what to do with it until one day, I stumbled upon a vertical orchid planter built by Amanda Ghassaei. Both, my wife and I are fond of orchids, so I thought it will be fun to build something similar. The result? An orchid wall that makes people smile every time they see it. And guess what? It turns out you don’t need to be a dentist to put a smile on people’s faces.

So, let’s get building.
Inspiration
Here are some examples of orchid walls that people have done and we used for inspiration to design ours. We also considered buying a ready-to-go wall planter but didn’t find anything that fits within the dimensions of our space.
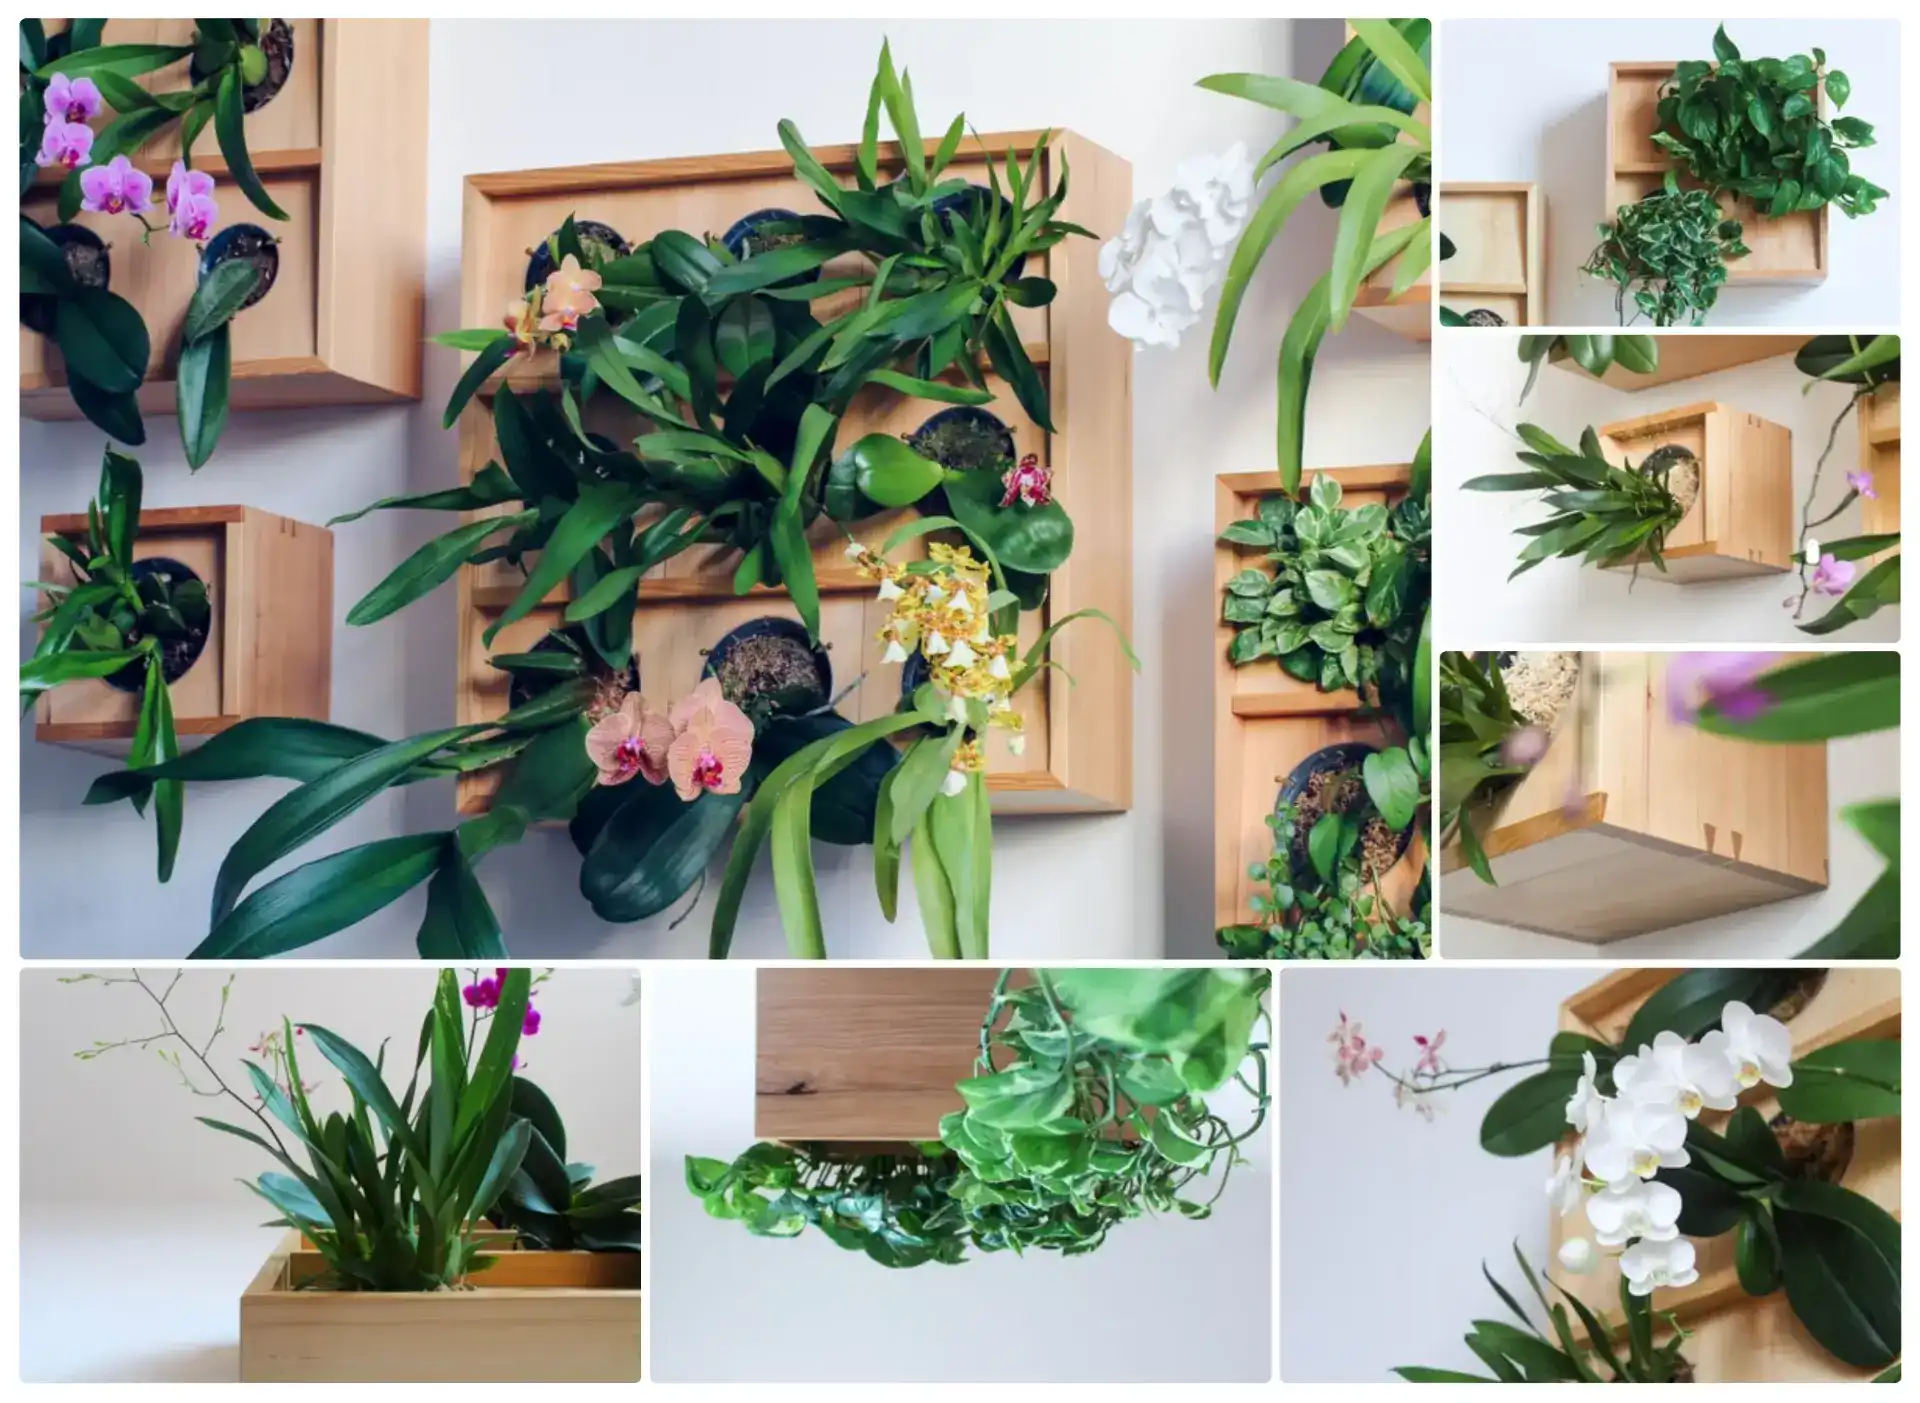 Example 1: DIY Vertical Orchid Planter posted on Instructables.
Initially, I wanted to build something very similar for our wall but decided for a simpler solution to see if we will be able to keep the orchids alive.
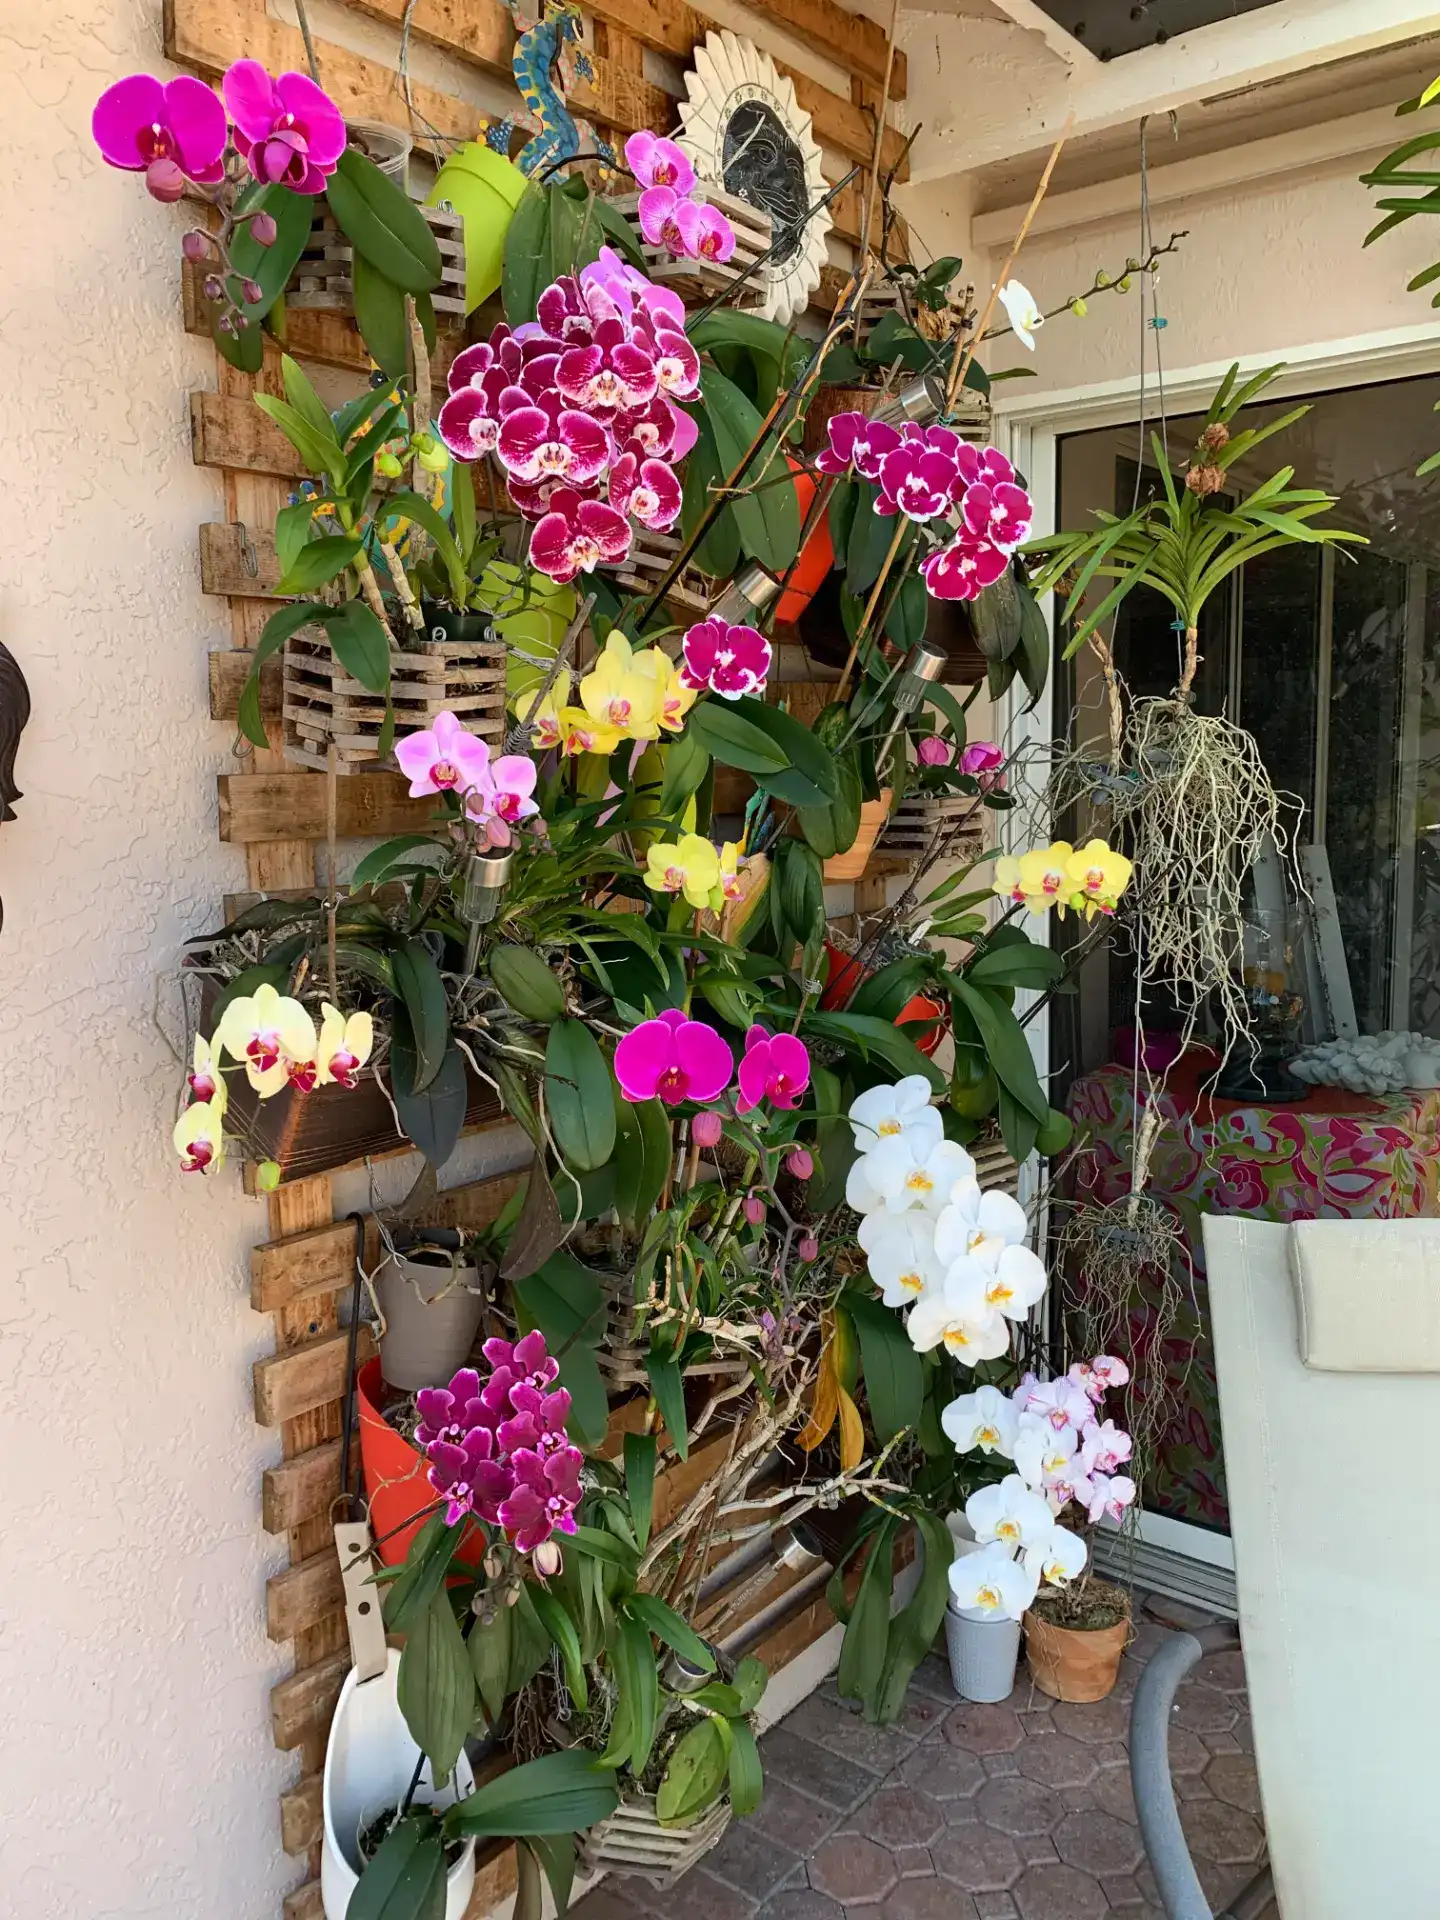 Example 2: Someone's gorgeous orchid wall as posted on Reddit.
We decided to go with a similar planter frame design for our space. Notice that they put together two frames next to each other to make the planter wall wider, but in our case we have space for just one such frame.
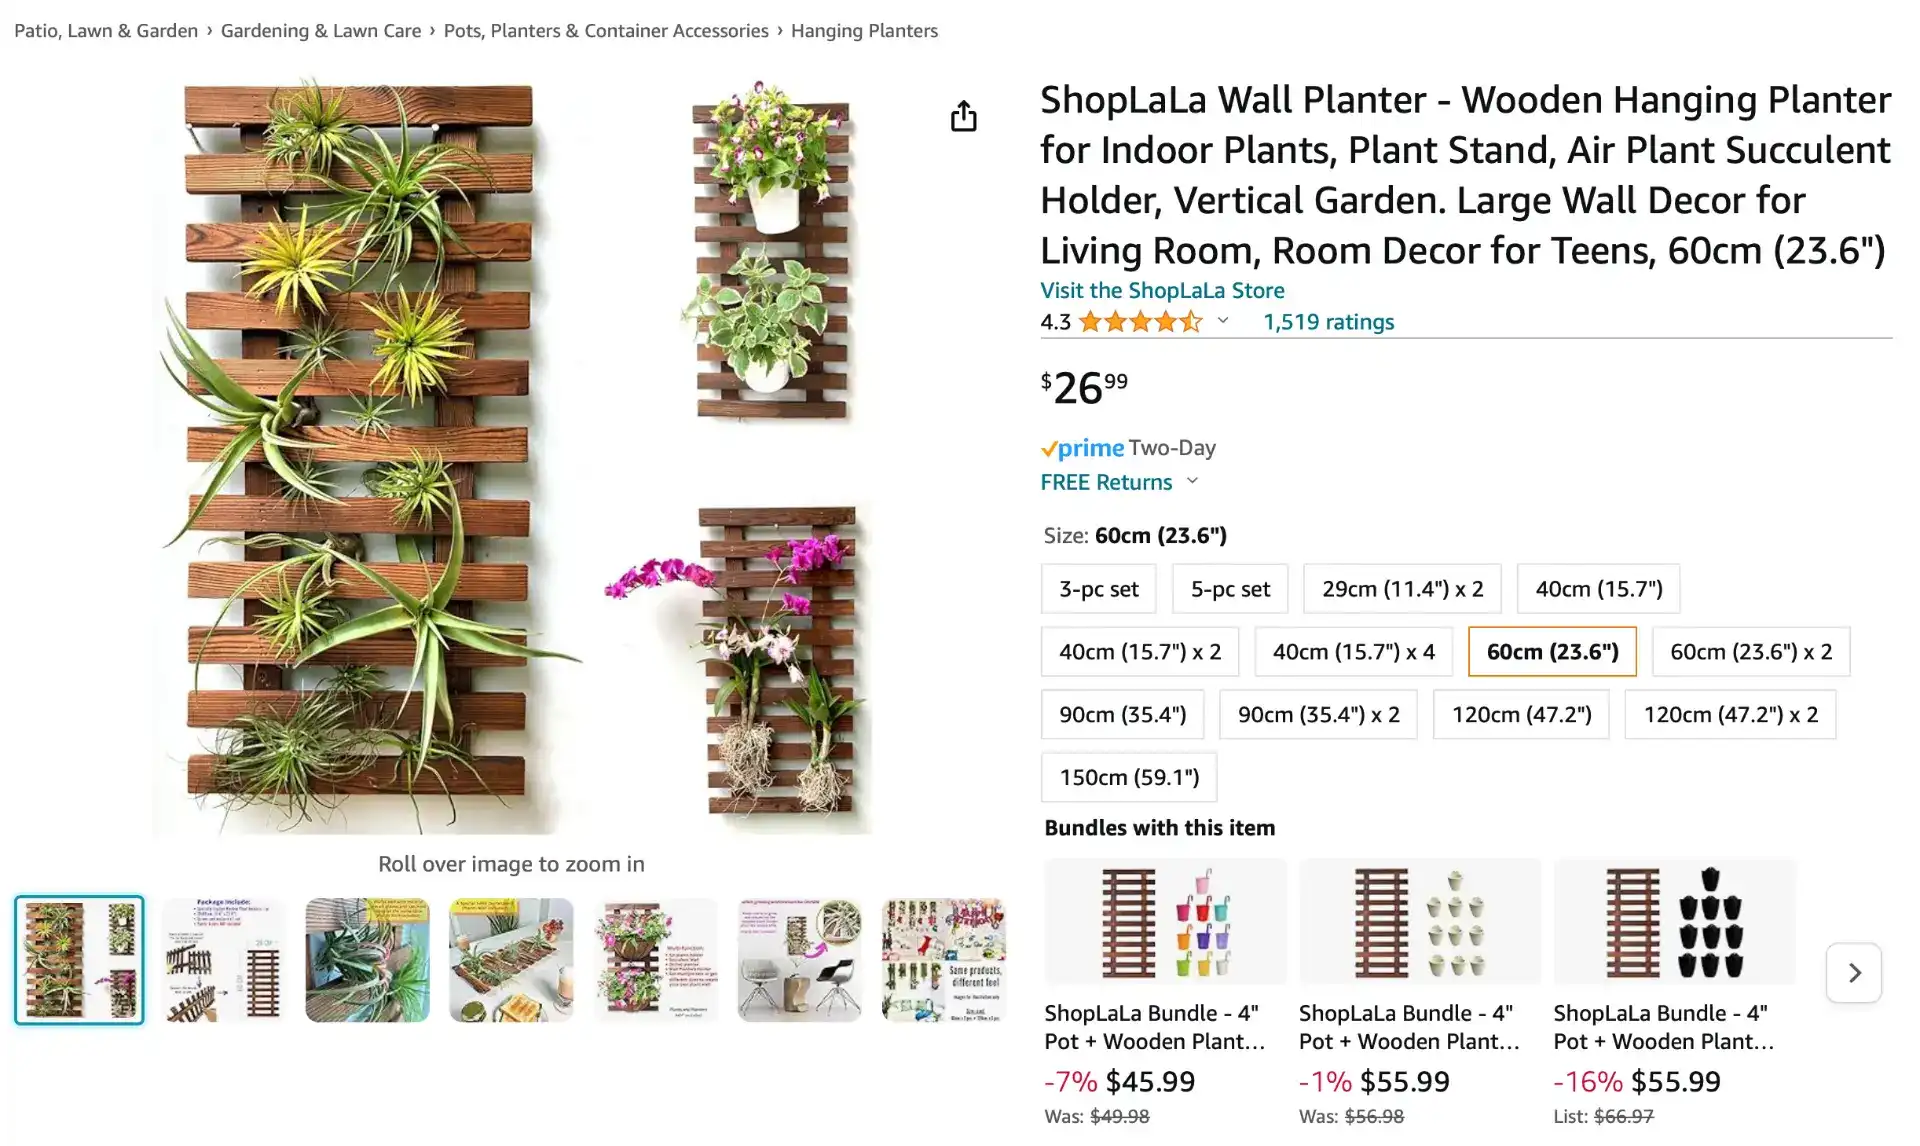 Example 3: A cheap commercial alternative available on Amazon.
This wall planter is only ~11.5in wide, which means it cannot be attached to the studs that are usually 16in apart, on center. Multiple pieces can be staggered for up to 59in in length, which is nice and I can use a similar approach to make my planter wall design more modular in the future if I ever were to sell it.
Design
I took some measurements and experimented with several mockups before deciding to go with the following design, which makes the most of boards readily available in our local hardware store.
Dimensions (inches)
- Overall size: 32 W x 60 H x 2.25 D
- Horizontal boards: 32 W x 2.5 H x 0.75 D
- Vertical bars: 2.5 W x 60 H x 1.5 D
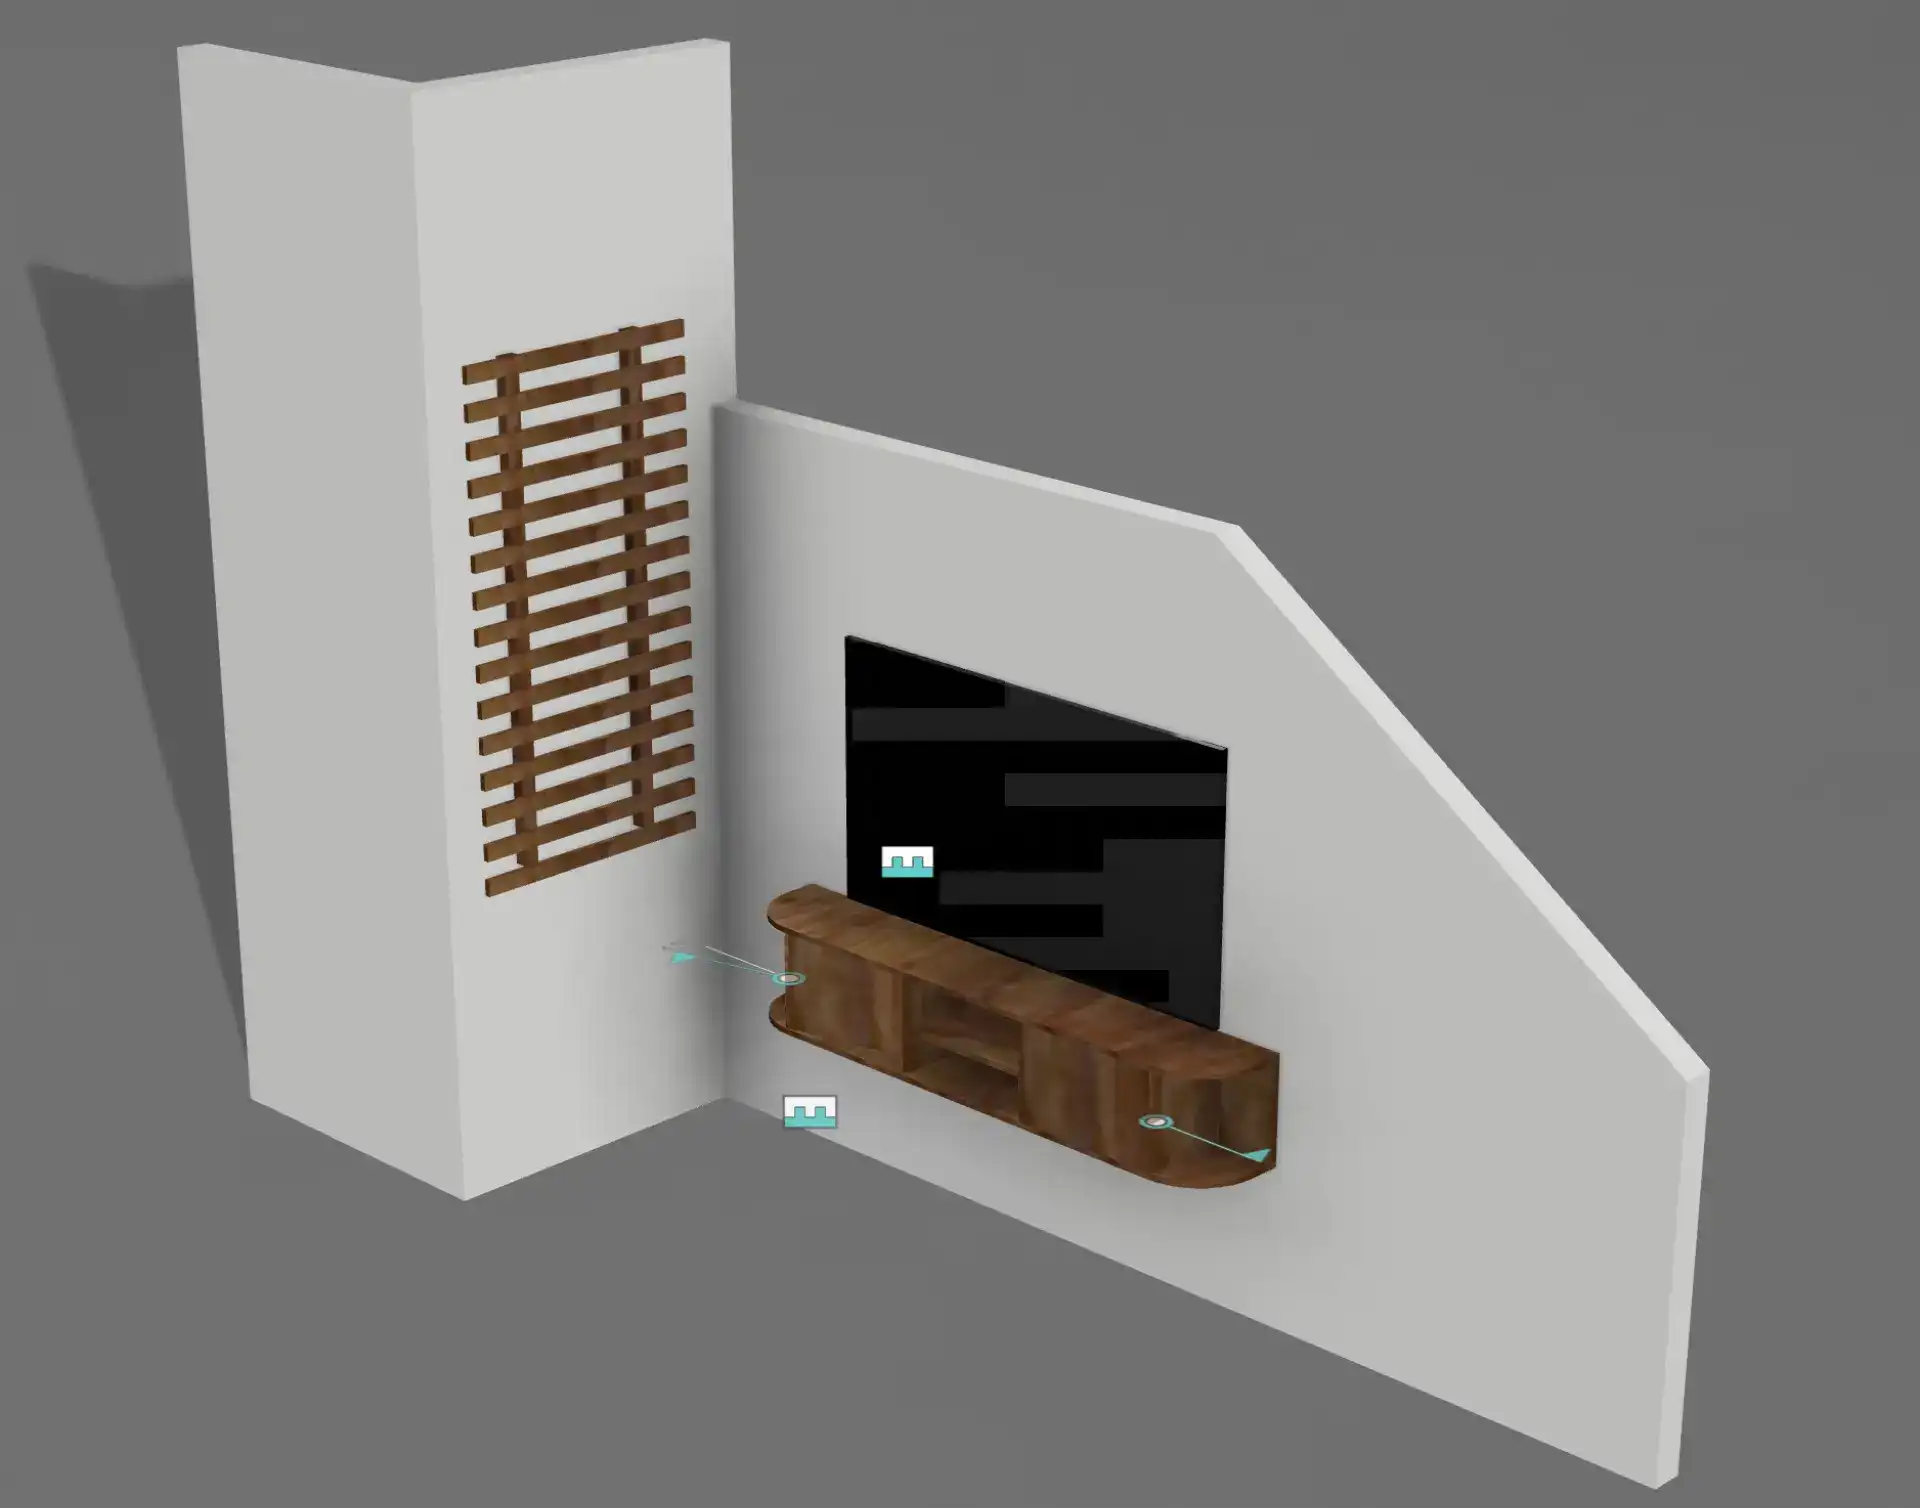 Image 1: Mock up of the wall planter created in Fusion 360
Design considerations I wanted to use narrower horizontal boards (2 instead of 2.5 inches) because they looked nicer on the mockup, but they don't sell such sizes and ripping a wider board will be too much waste, so I settled on eight-foot-long 1x3in boards that I just need to cut to length. In case you wonder, in the U.S., the boards advertised as 1x3in are actually 0.75in thick and 2.5in wide.
To keep the flower pots a bit more away from the wall, I double-stacked two long boards to create a a vertical bar that has 1.5in thickness.
Attaching the planter to the wall, requires that the vertical bards are spaced 16in on center, so they can be easily screwed into the studs behind the dry wall.
Materials
I spent around $150 in new materials for this build.
- Wood: 12 boards, 1x3in, 6ft long ($104, HomeDepot)
- Wood stain: Rubio monocoat, custom color ($20 per color for 100ml)
- Used 2:2:1 color mix of cherry coral (30ml), cinnamon brown (30ml) and chocolate (15ml) with added accelerator (25ml). I only had to buy the chocolate color and the rest were left over from a prior project.
- Screws:
- 52 for the horizontal boards - #8 x 1-1/4in black xylan coated stainless steel flat head wood screws by Bolt Dropper, since I couldn't find cheaper black ones ($10 for 25 pack, Amazon).
- 6 for to fasten the vertical supports to the studs - #10 x 3in black flat head twin threaded cabinet screws by The Hillman Group ($15 for 100 pack, Amazon)
Tools and supplies
I used existing tools and supplies to build this orchid wall. It's nice to have power tools, but you can easily make all the cuts with a hand saw and manually sand everything.
- Power tools
- Miter saw hooked up to a dust collector
- Random orbital sander hooked up to a shop vac.
- Drill press
- Other tools:
- Measuring tools: tape measure, pocket rule
- Marking tools: mechanical pencil
- Clamps
- I-beam level
- Safety equipment:
- Safety glasses
- Dust mask
- Supplies 2. Wood glue 3. Sanding disks: 80 and 120 grit 4. Shop towels 5. Protective nitrile gloves 6. Scotch pad
Build
Step 1: Prep the rough stock
- Square the ends: Use a miter saw to trim a small amount from each end of the 1x3 boards.
- Select and cut vertical bars: Choose the four straightest boards for the vertical bars and cut them to length (60in).
- Cut horizontal bars: Cut the remaining boards to size (32in) for the horizontal bars. To make repeatable cuts easier, I clamped a scrap piece to my miter station to act as a stop block.
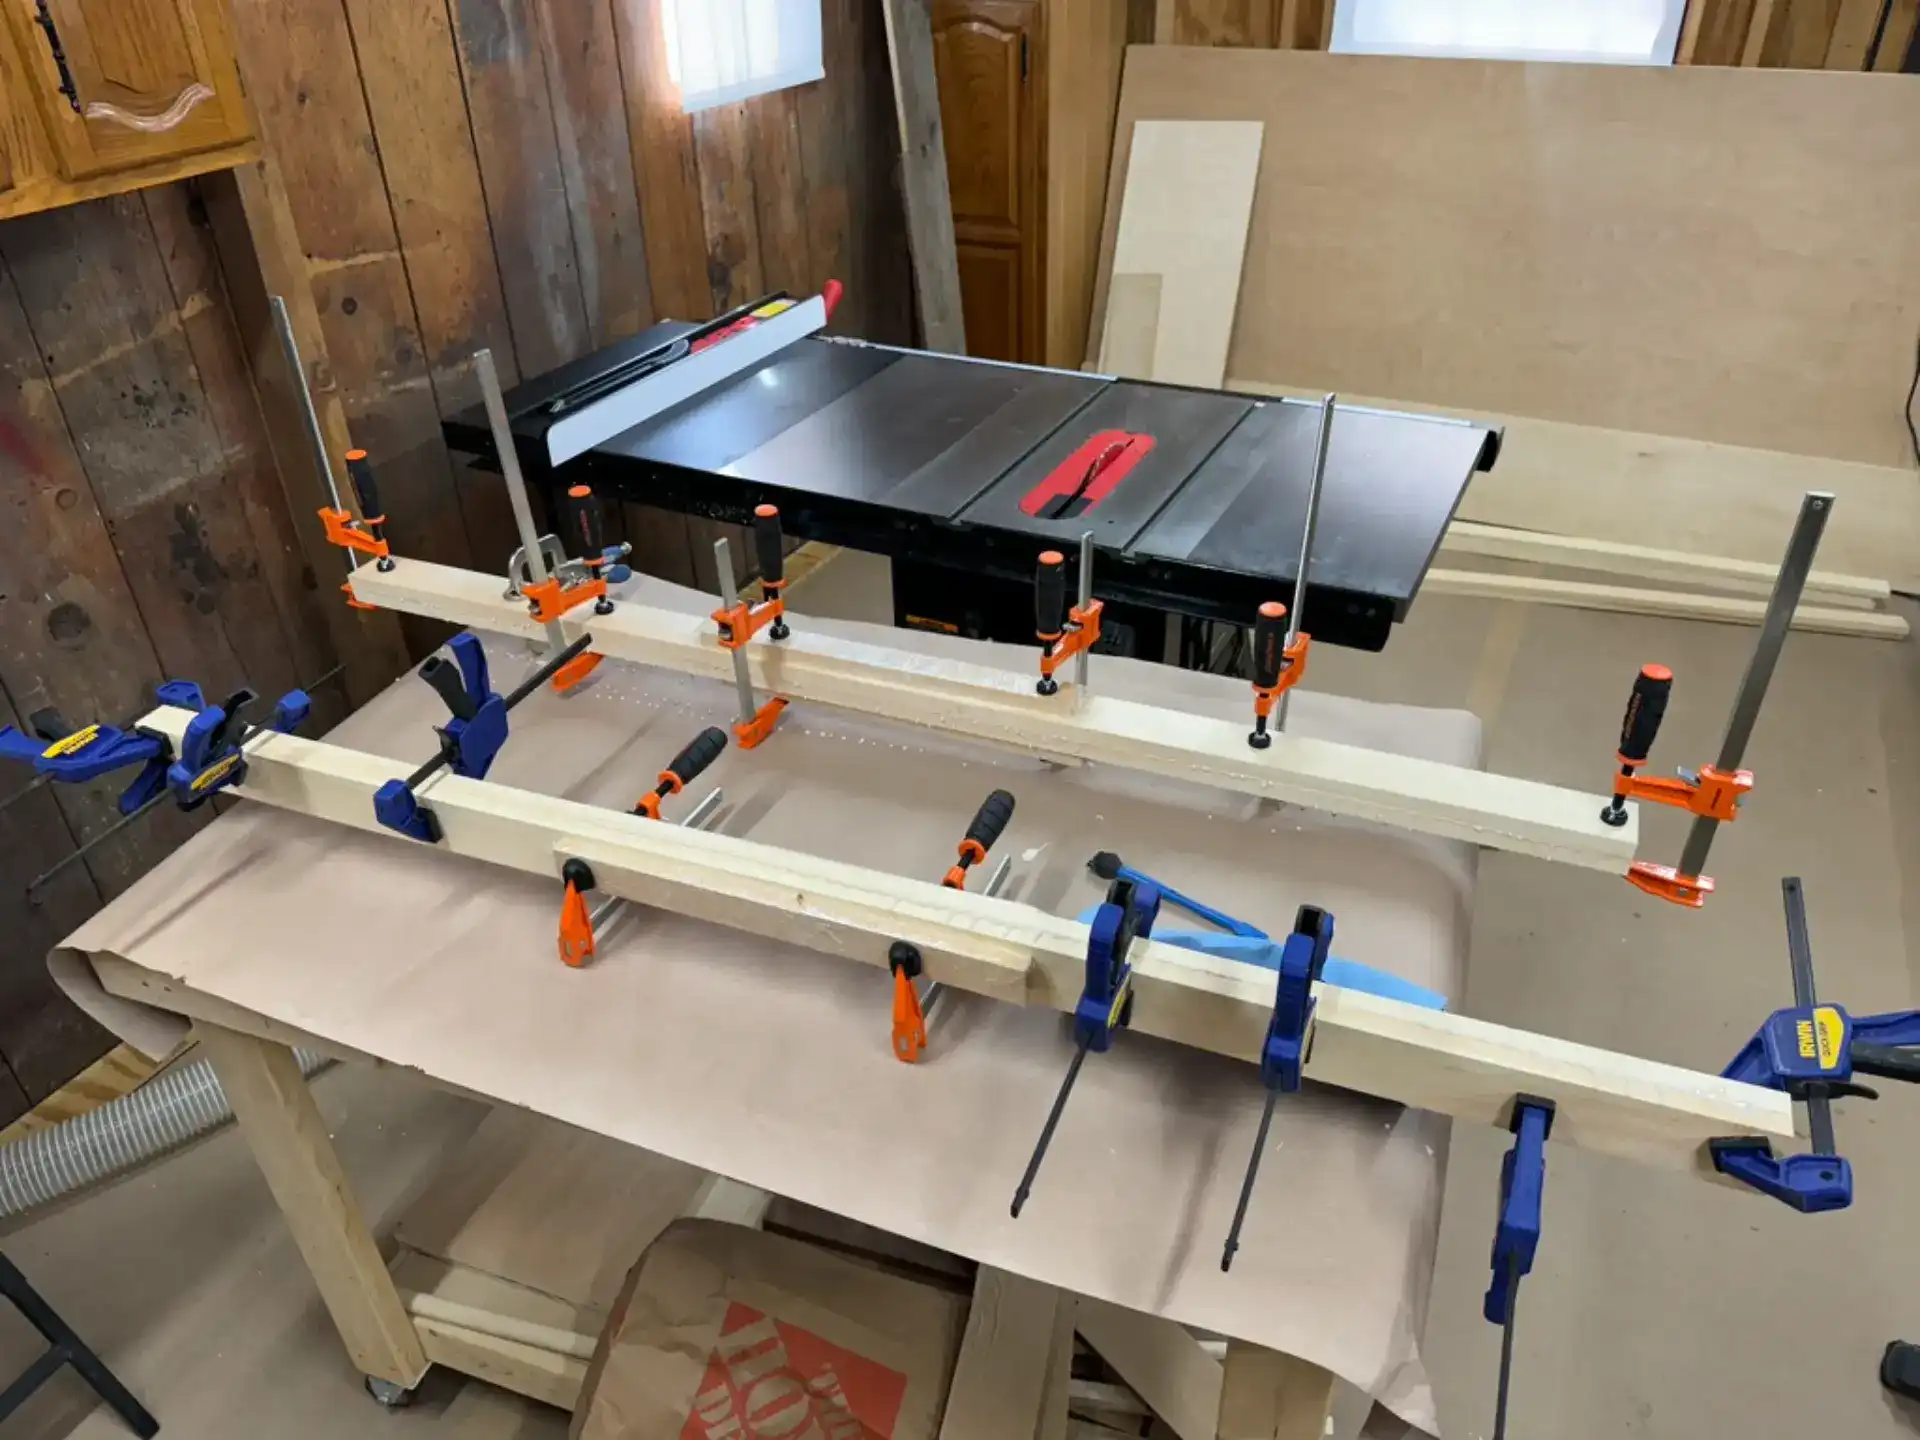
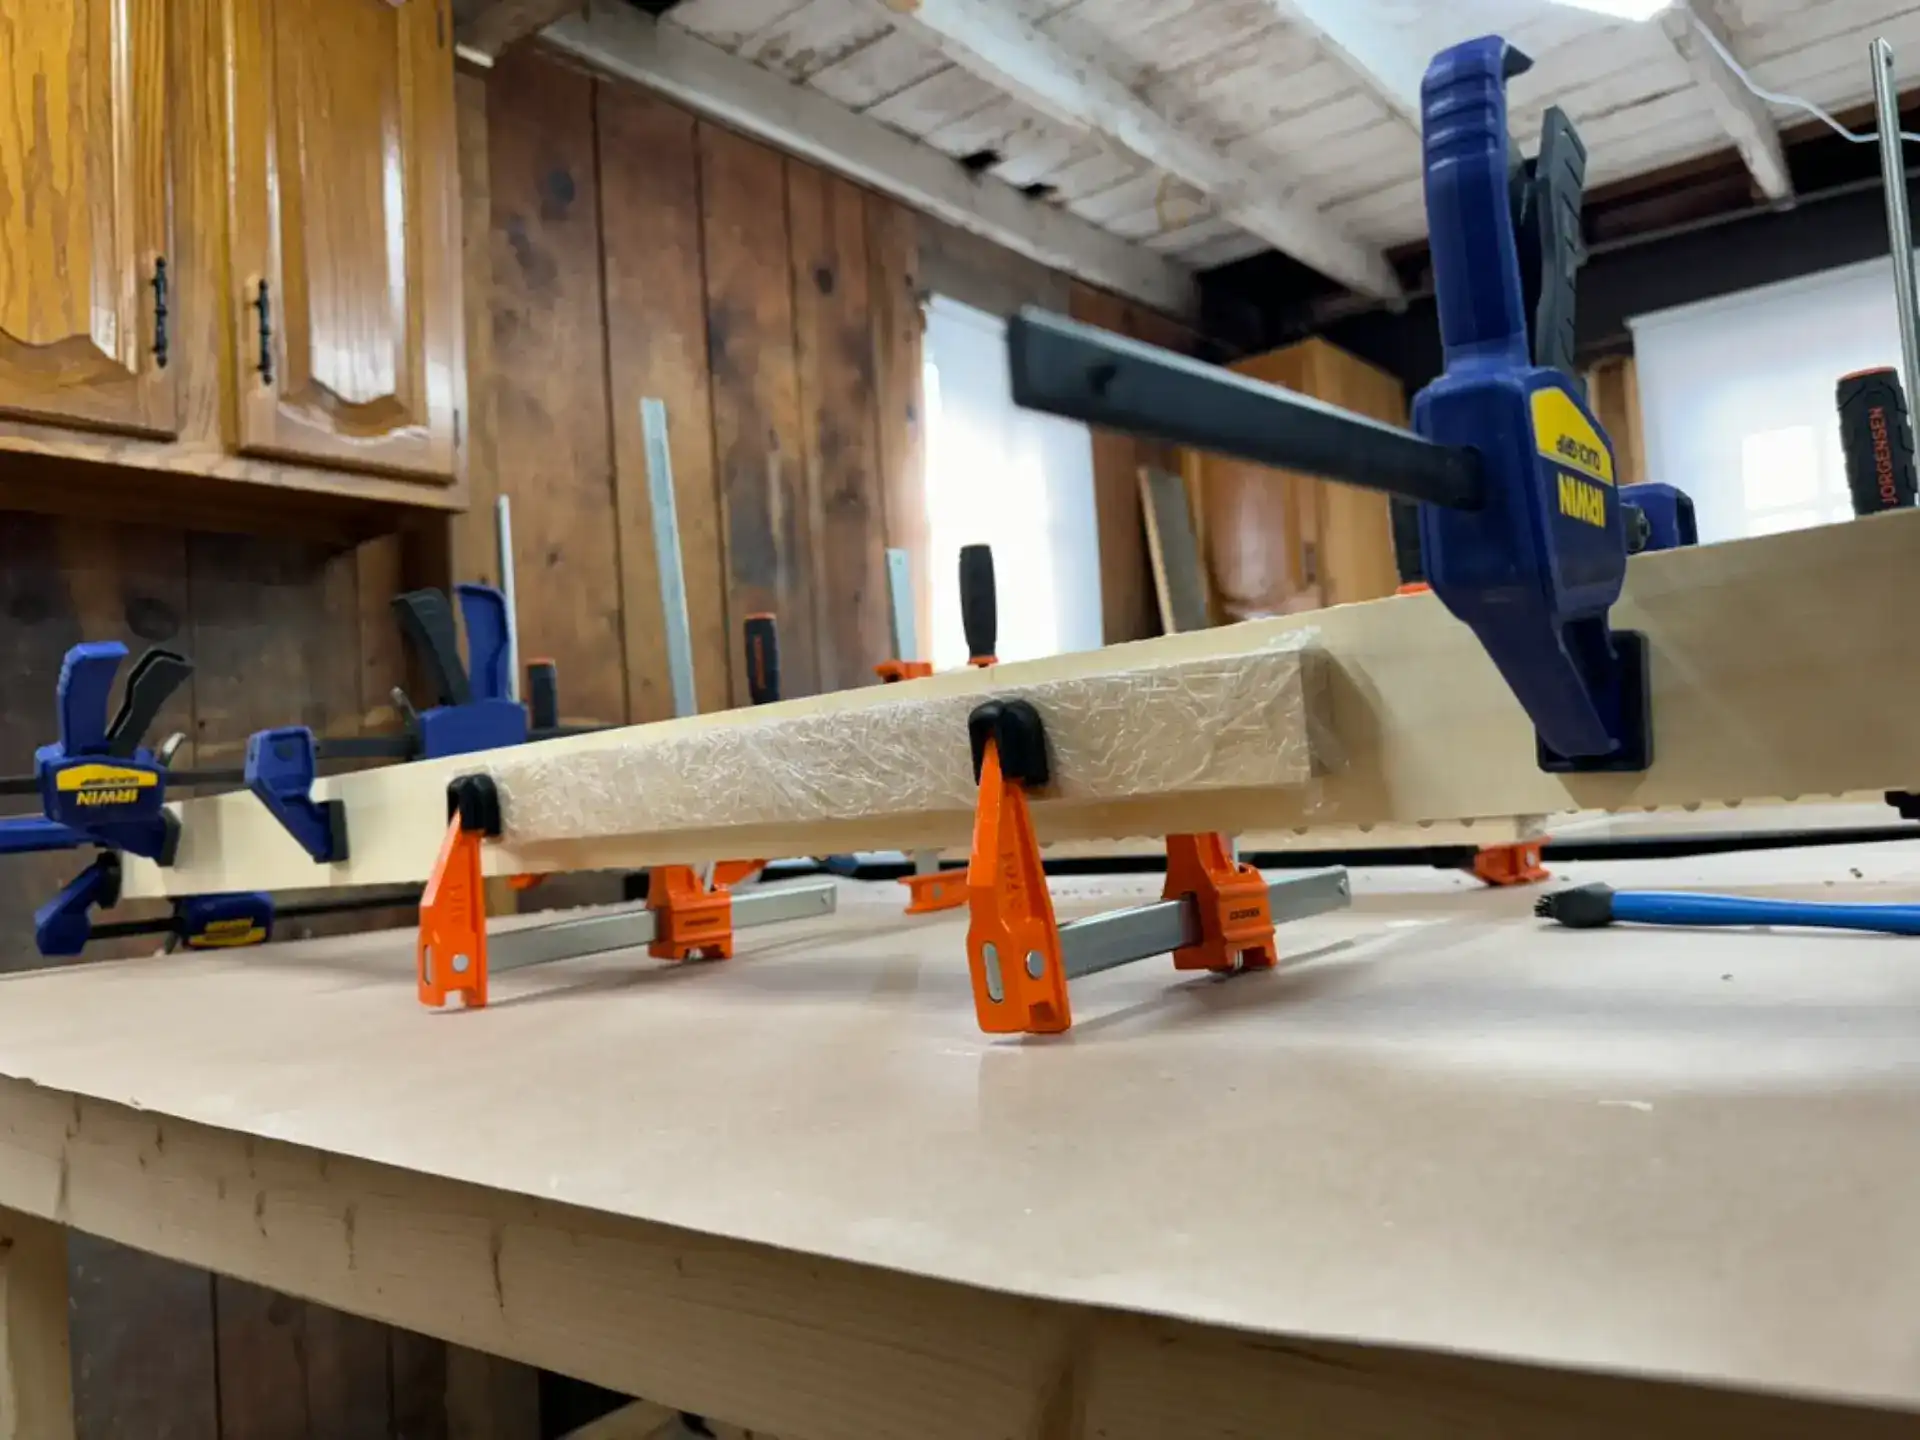
Step 2: Build the two vertical bars
- Glue the boards: Glue two of the long boards together to form one vertical bar.
- Clamp the boards: Use plenty of clamps to apply pressure along the length of the boards until glue squeezes out.
- Repeat: Repeat the process for the second vertical bar.
Lesson learned: Gluing two five-foot boards together requires many clamps, especially if the wood has bow, cup, or twist. I didn’t have enough clamps, so my glue-up wasn’t perfect, but it was more than good enough for its intended purpose. We’ll aim for perfection next time!
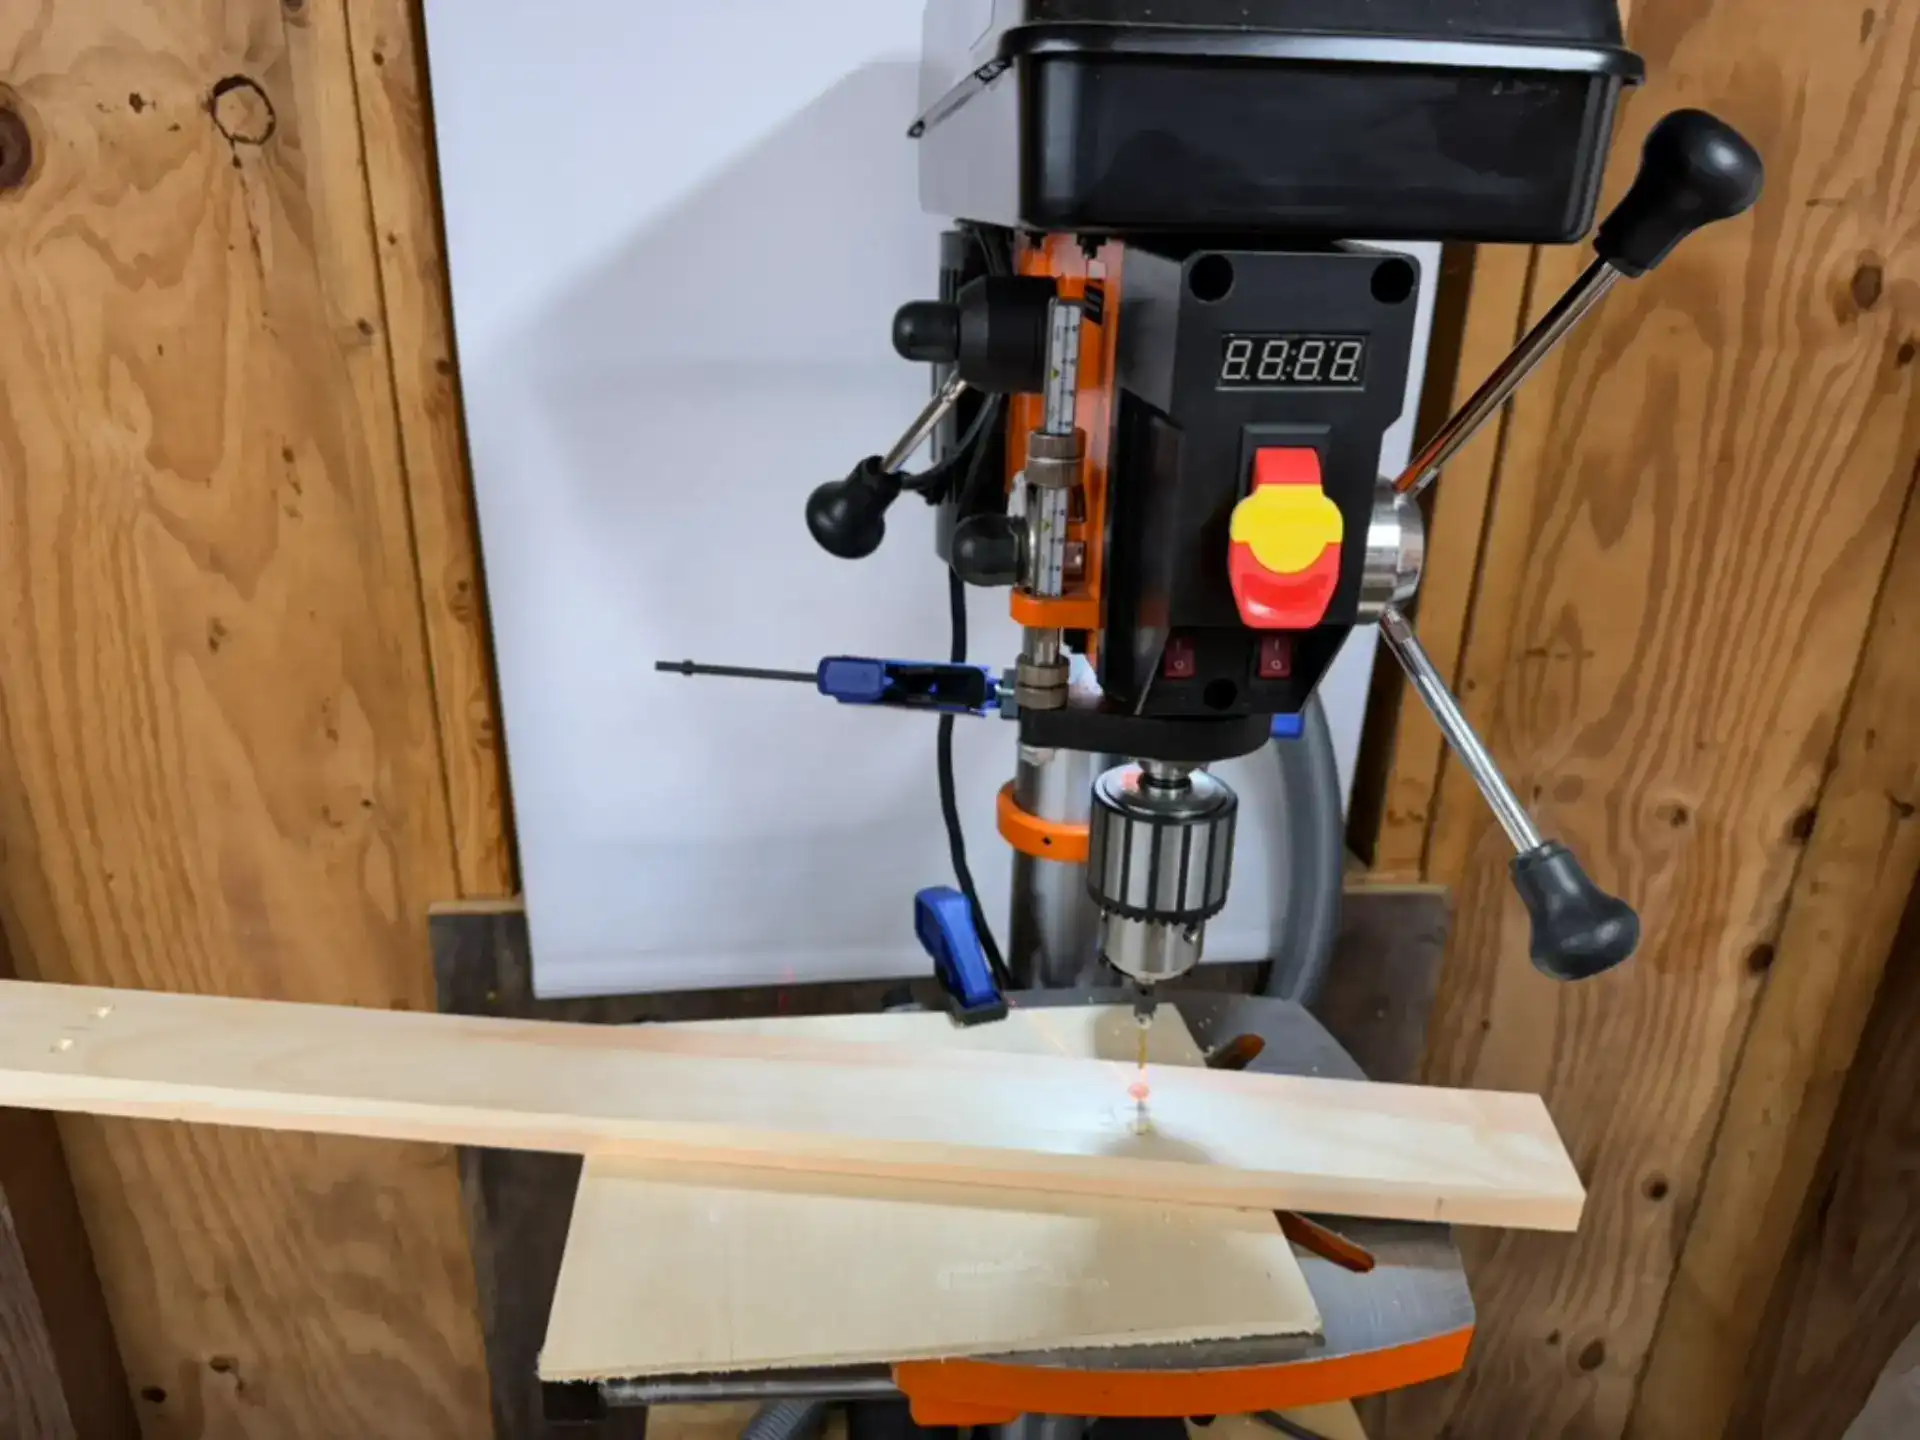
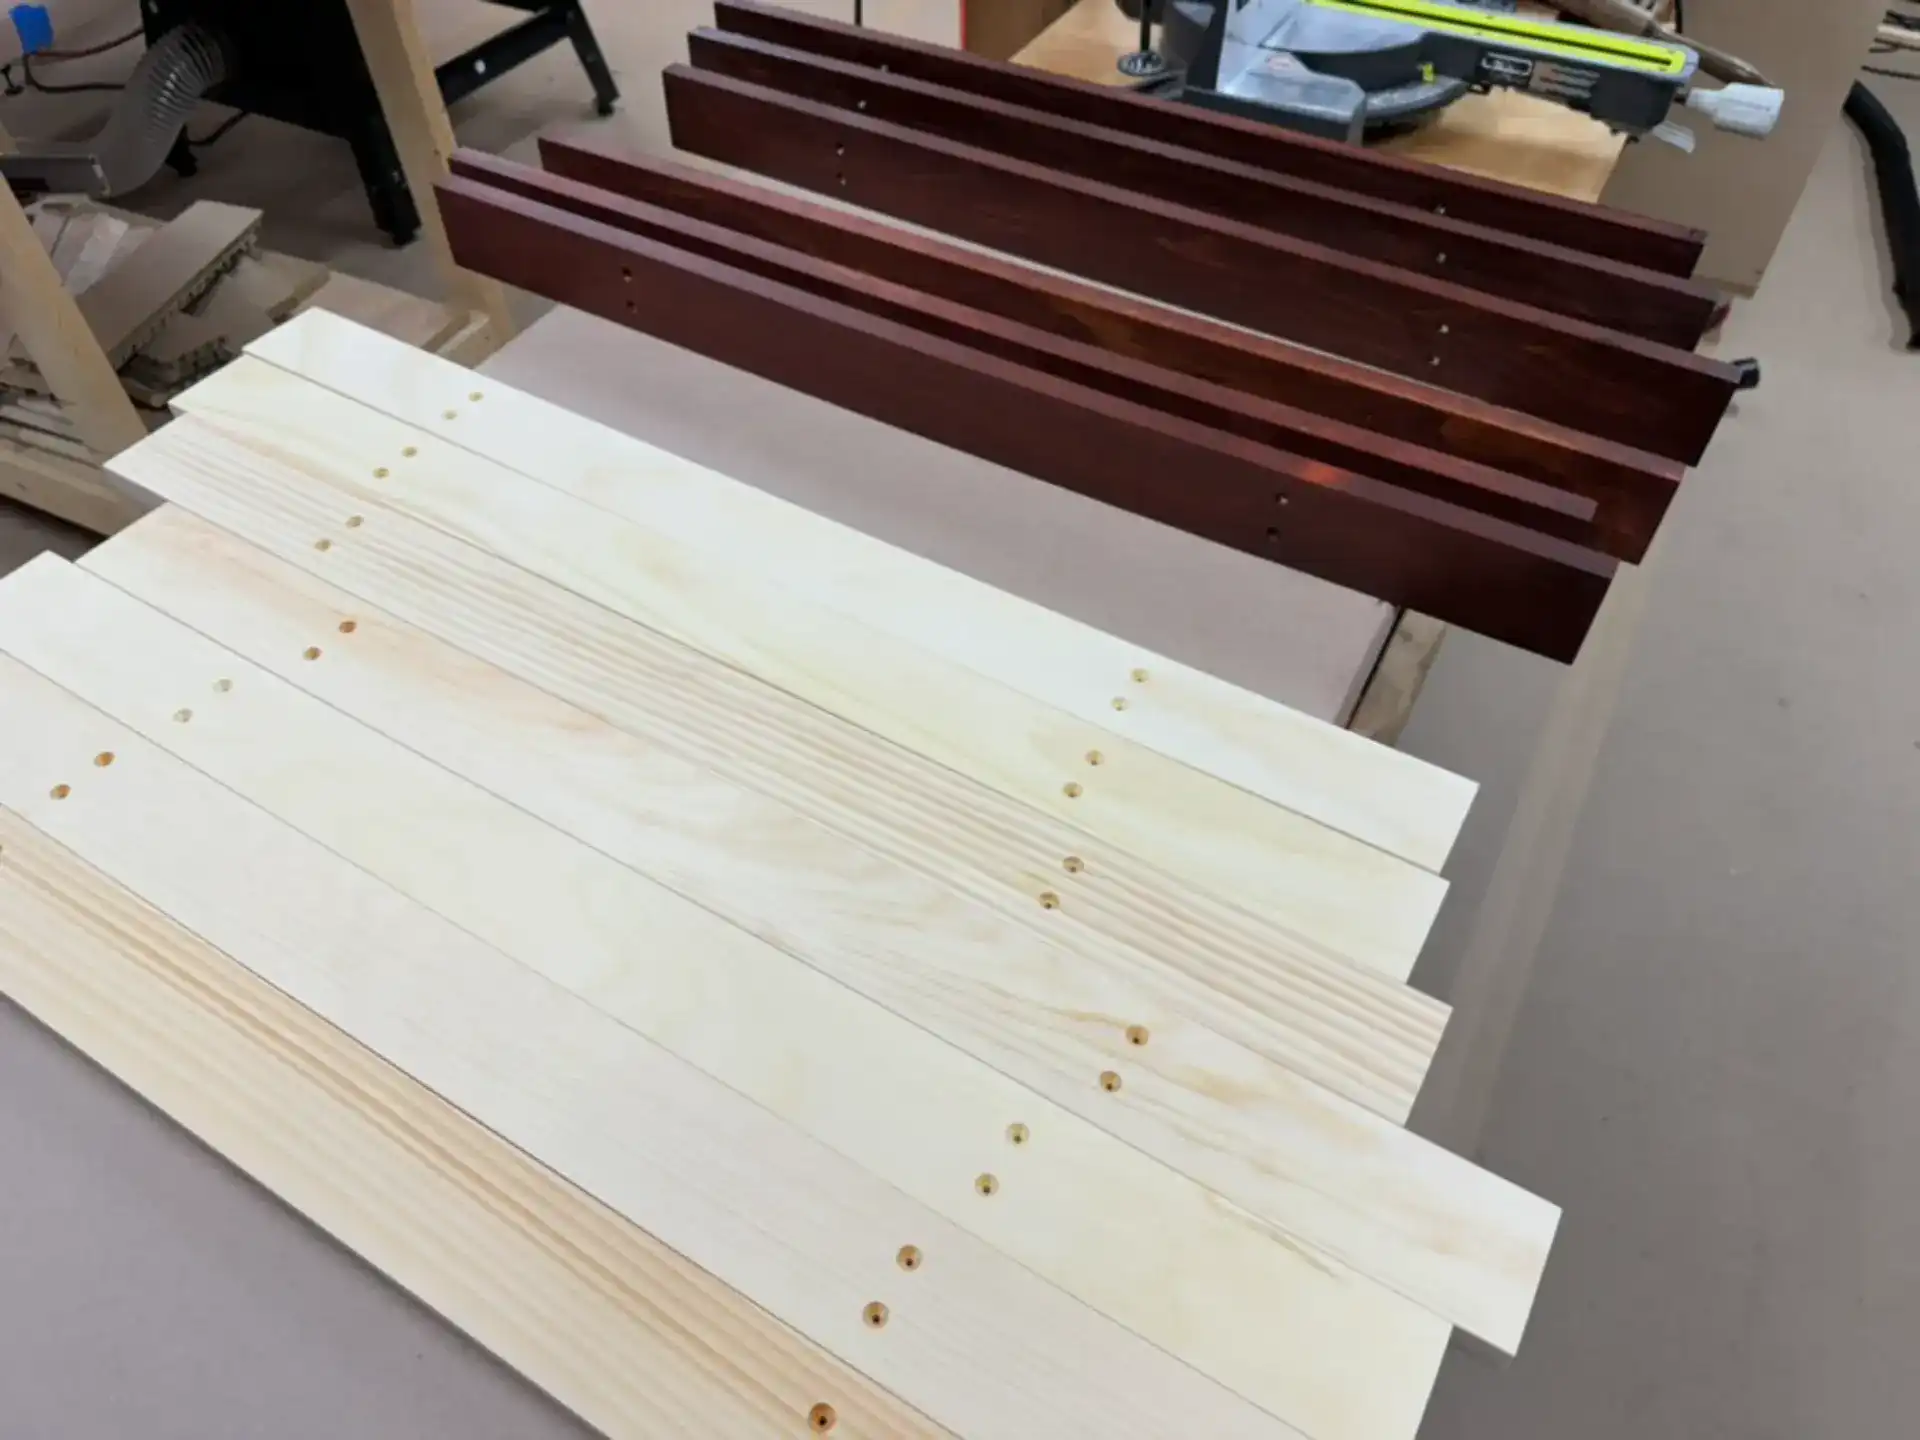
Step 3: Pre-drill screw holes
To simplify assembly (or mostly to play with my drill press), I decided to pre-drill all screw holes in one batch operation. I also created a spacer that will later make it much easier and faster to screw in the horizontal boards in place at an even distance from one another.
Consideration: If I didn't have a drill press, I would have skipped the pre-drilling. You could measure and drive the wood screws directly at the end, but there is a slight risk of splitting the finished boards.
- Measure and mark screw locations
- Each vertical bar will be attached to studs in the wall with 4 screws along its center line that need to be evenly spaced and located in between the horizontal boards.
- Horizontal bars will be attached to the vertical bars with two screws on each side that need to be spaced 16in from the center of the vertical bars, so the vertical bars align with the studs.
- Drill the holes
- Use a countersink bit to drill a test hole and adjust the depth stop on the drill press to make sure that the flat head screw looks good. Here I realized that all my wood screws were either gold or silver color, which will be an eye sore on this project, so I ended up buying black screws that look much better.
- Make 8 holes in the vertical bars and 52 holes in the horizontal bars for a total of 60 holes.
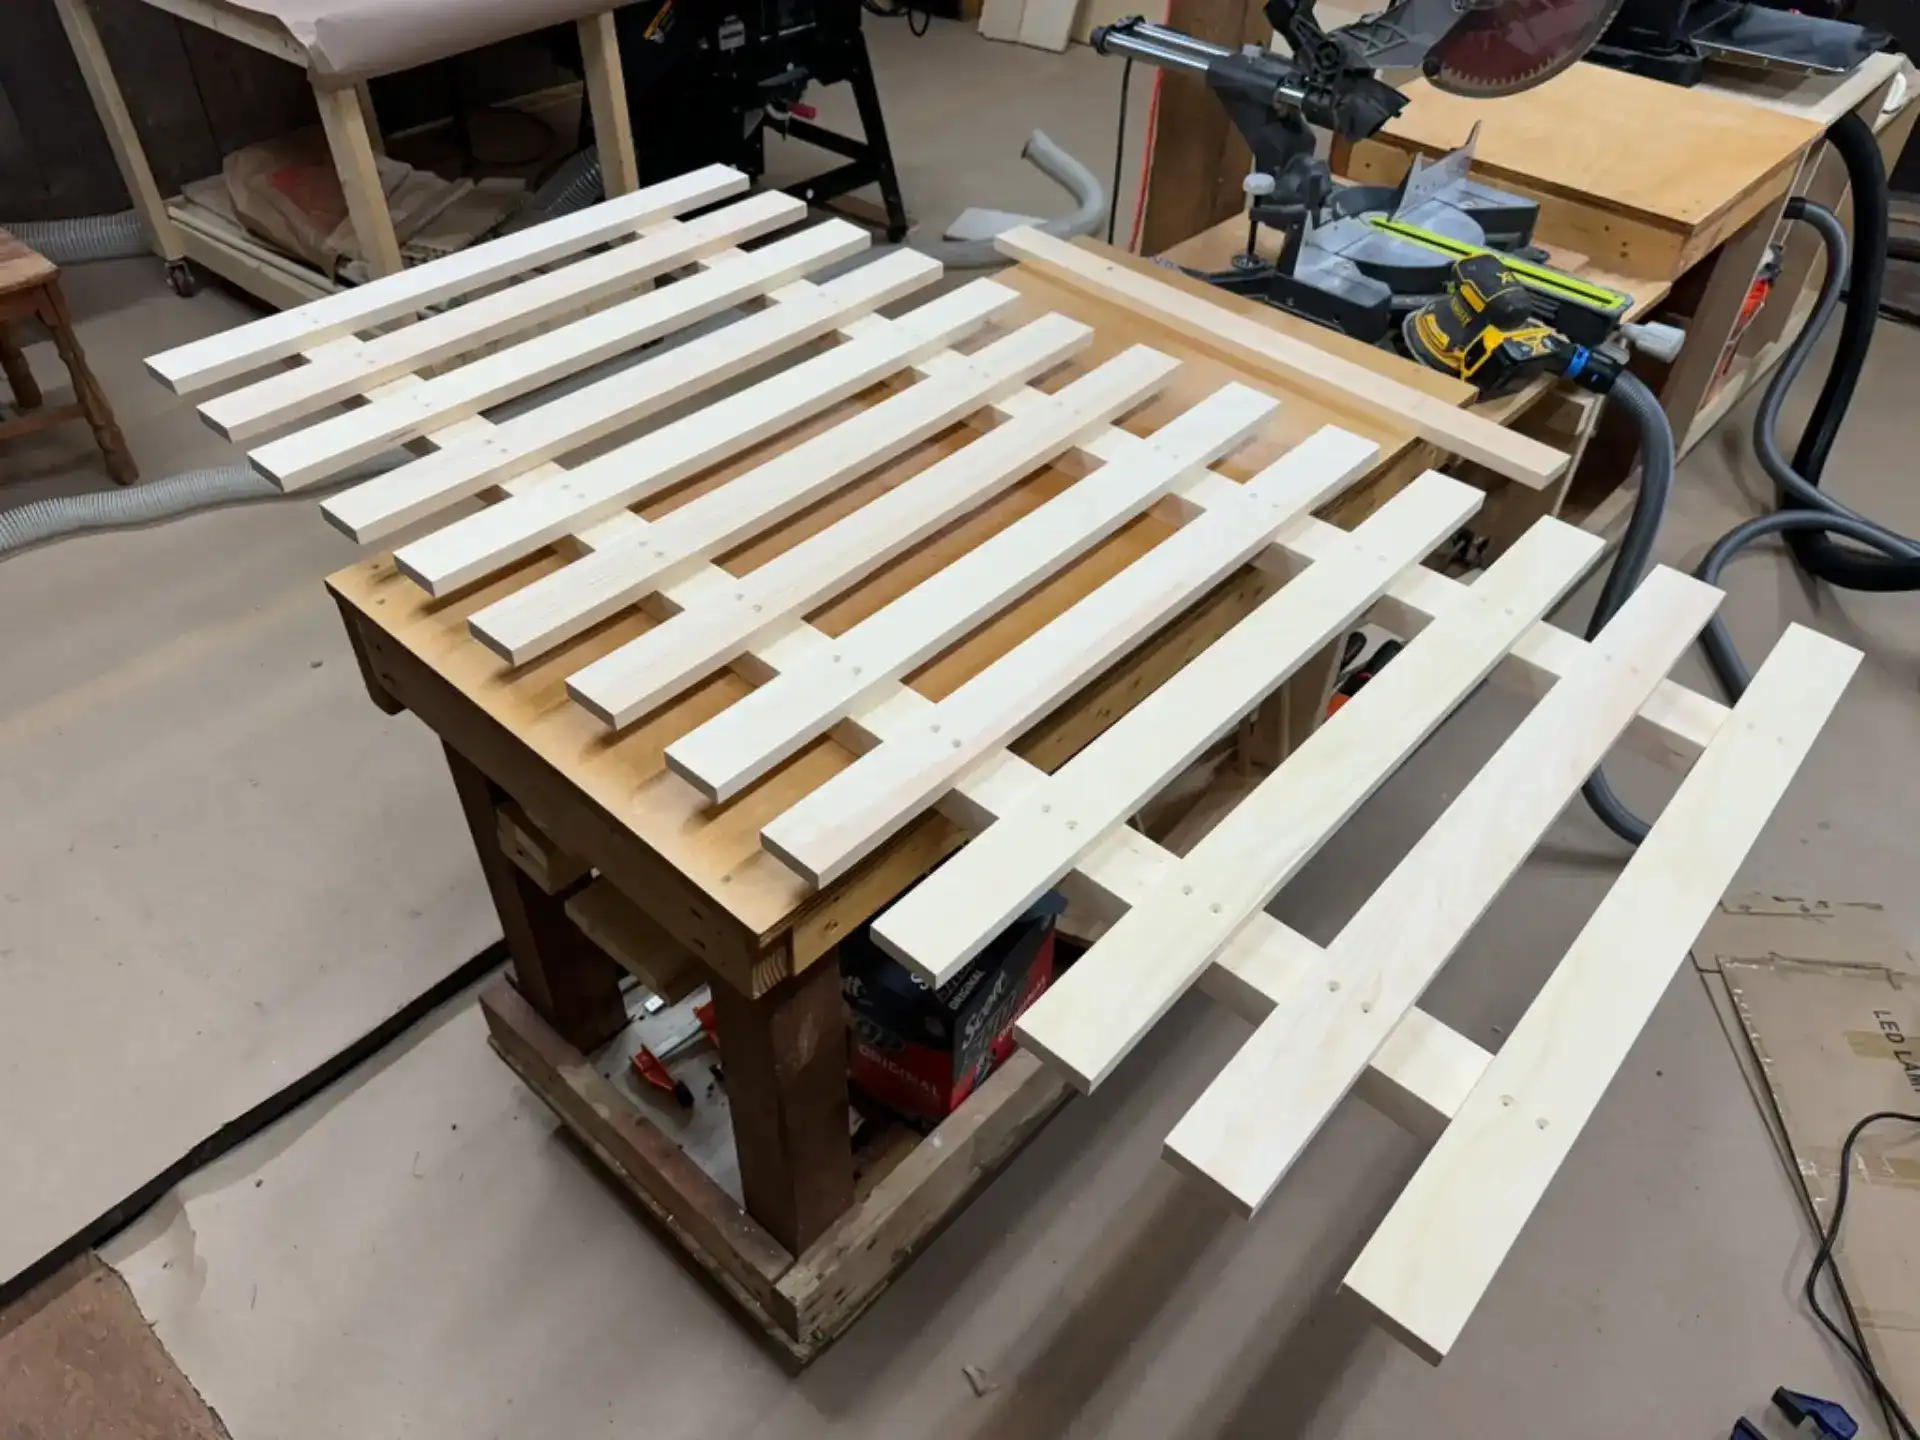
- Test assembly
- Arrange the boards to get a feel of how everything will look once assembled.
- Use this opportunity to create a spacer (2 1/4in) so it is faster to screw the horizontal bars later.
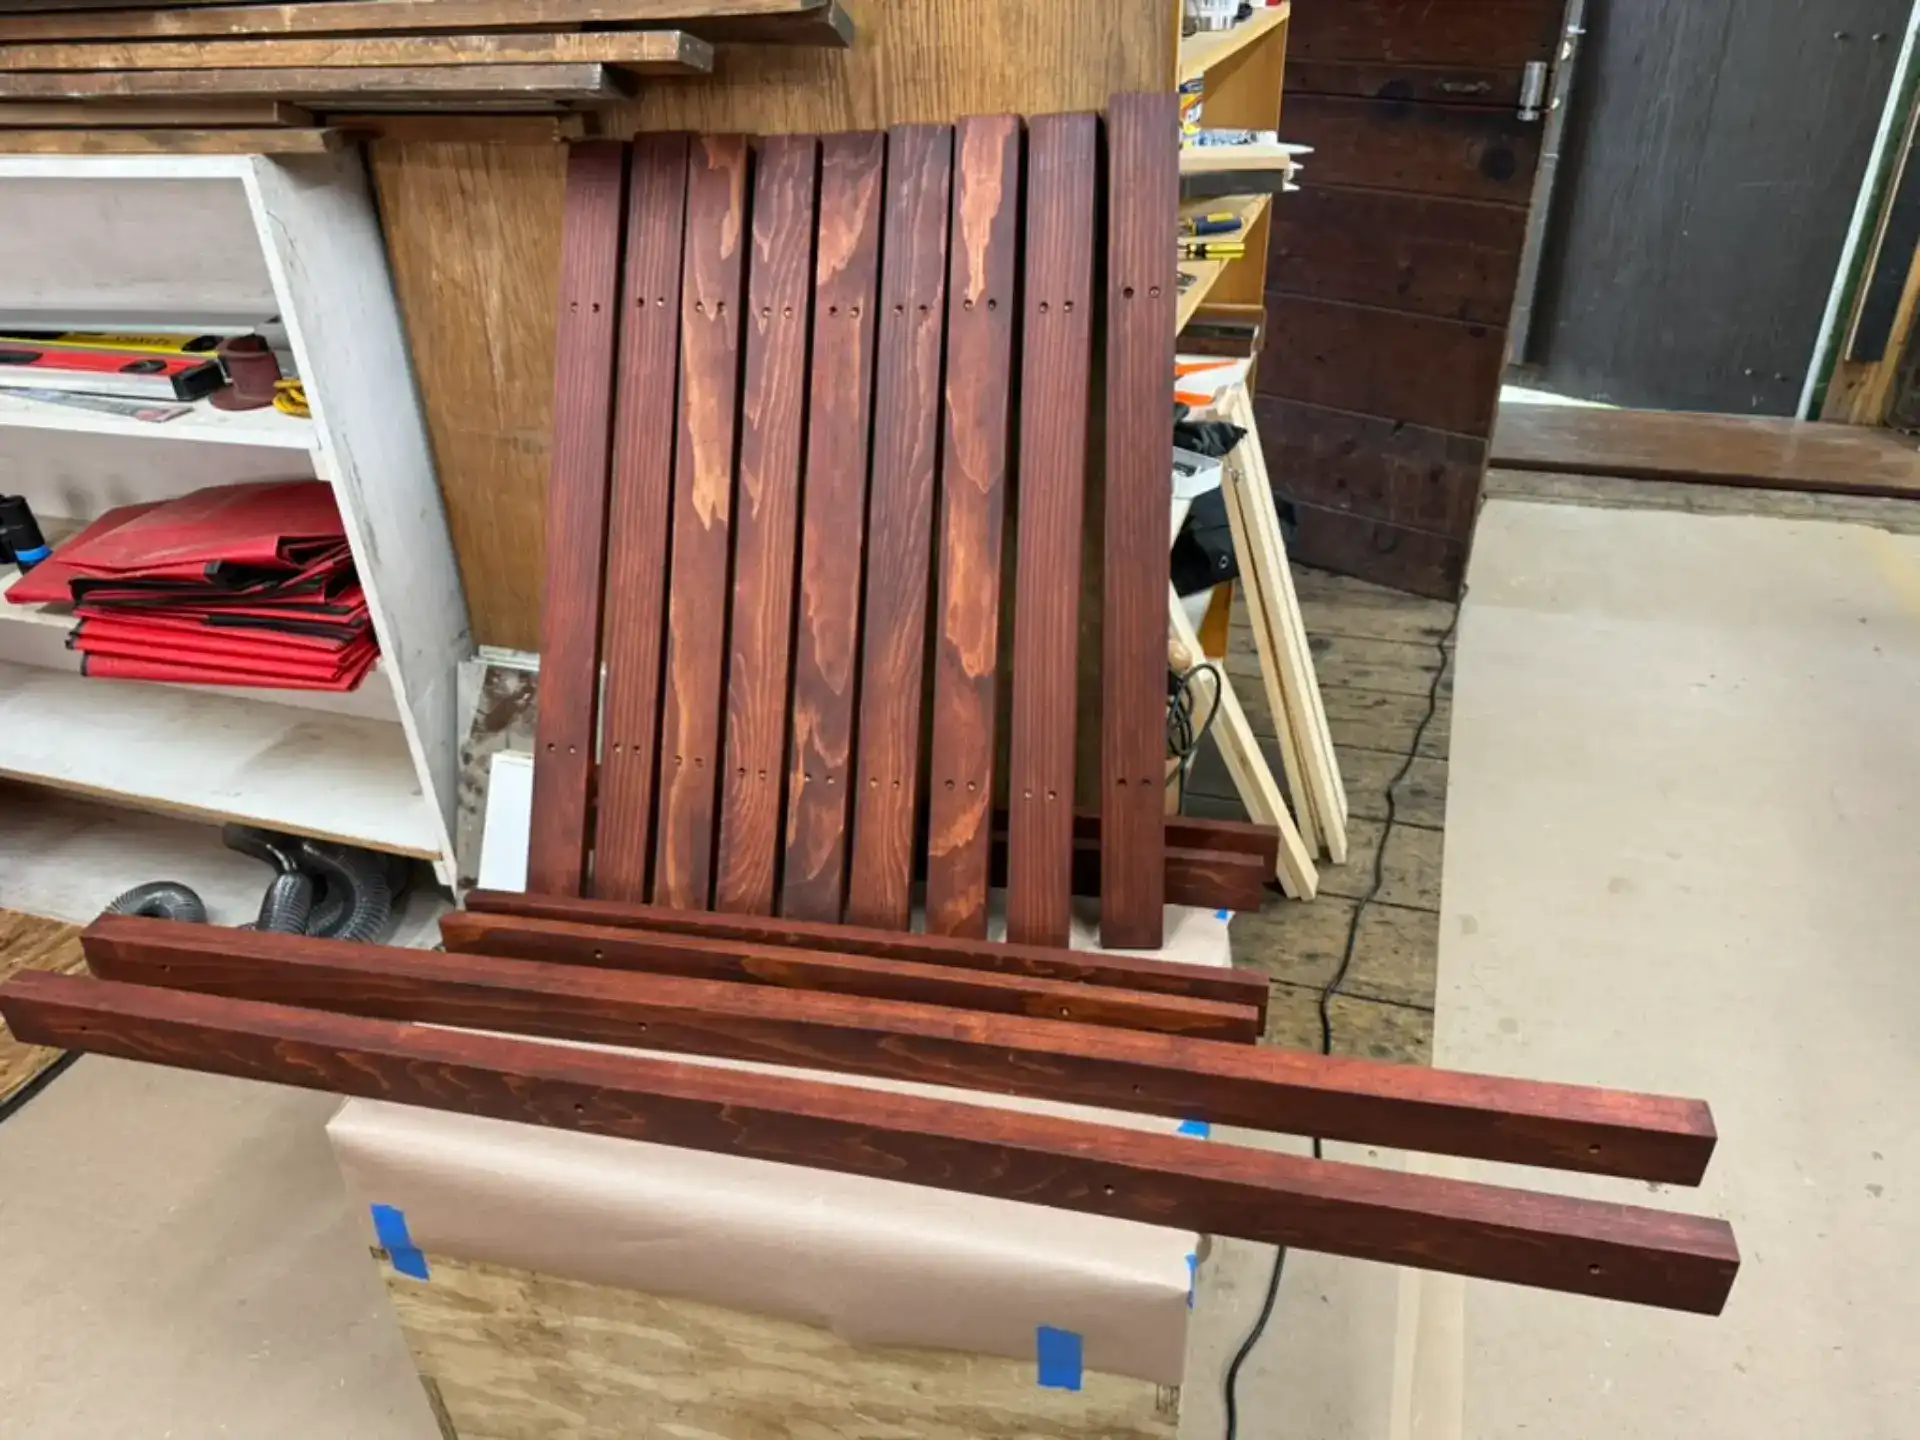
Step 4 - Apply finish
Usually, I apply finish once everything is assembled, but for this project I did it beforehand because it is much easier to handle individual boards than the large frame in the end.
- Sand all boards: Use 80 grit and then 120 grit sandpaper. No need to go to finer grit for this project. The sanding took about two hours with a cordless Dewalt 5-inch orbital sander which was a rather unpleasant experience. So, out of frustration, the next day I went to purchase a more efficient Festool 6-inch orbital sander that will come in handy on future projects that I am already designing.
- Prep the shop: Cover your work surface with construction paper to protect it when applying finish and storing wet boards.
- Create a custom finish color: The stock Rubio monocoat colors didn't quite match the room where the flower wall will be placed, so I mixed three colors together -- cherry coral (30ml), cinnamon brown (30ml) and chocolate (15ml) -- in a 2:2:1 ratio. I also added accelerator (25ml) for a 3:1 ration of color to accelerator as recommended on the label.
- Apply the finish: Using a Scotch pad, apply a thin layer of the finish to each board, working it into the grain.
- Buff and wipe: After 15-30 minutes, buff and wipe off the excess finish with a lint-free shop towel.
- Apply maintenance oil: After the finish has dried for about 24 hours, apply Rubio Monocoat Universal Maintenance Oil to give it more sheen.
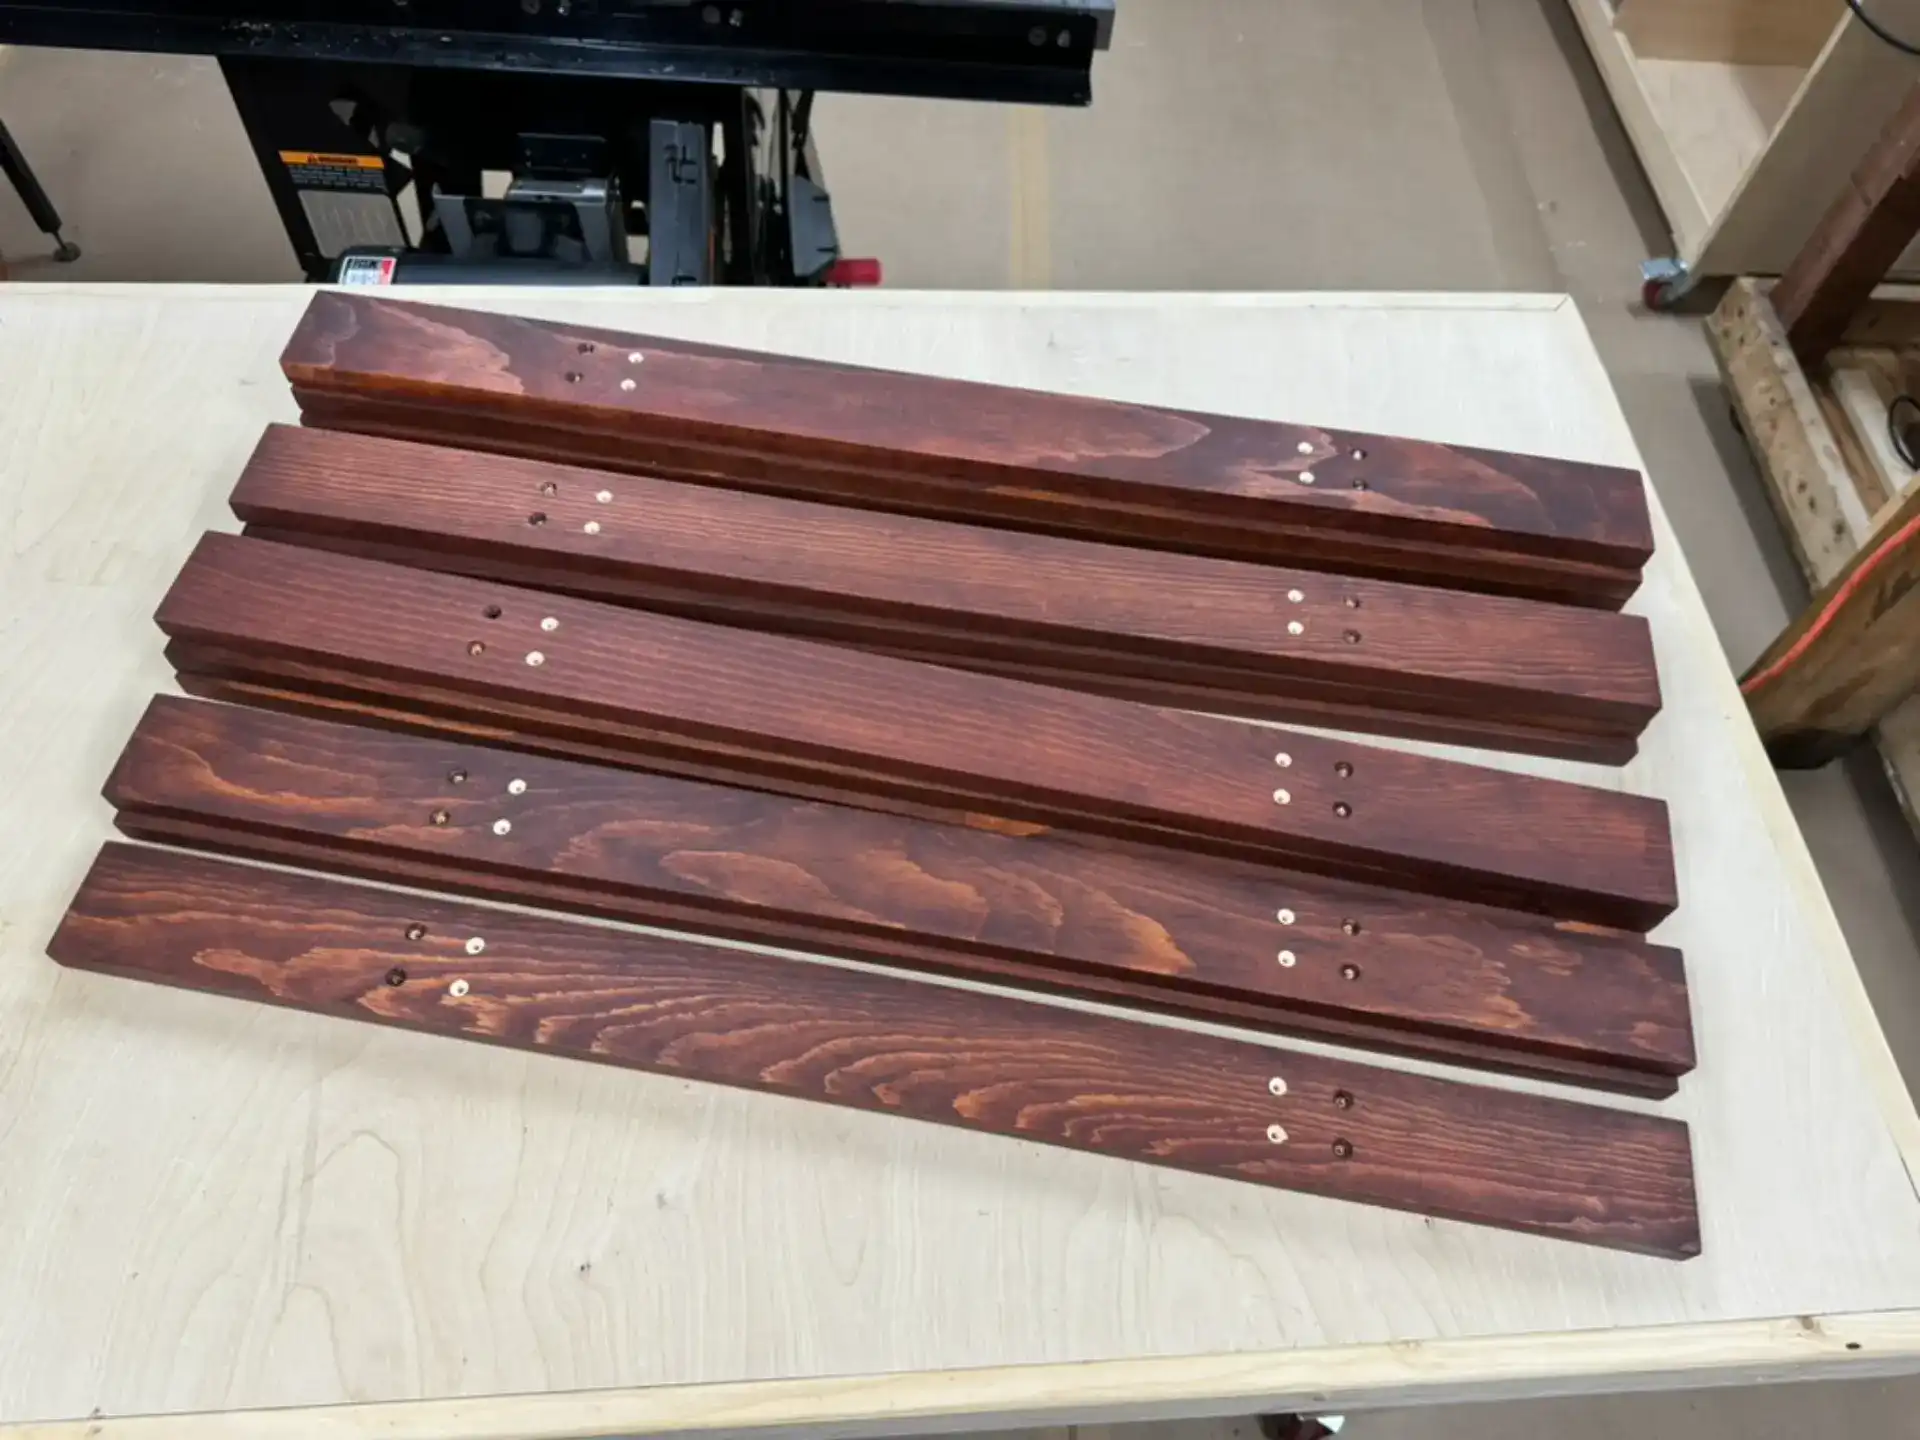
Lesson learned: I did another test assembly and realized I had made a measurement mistake. The distance in-between the pre-drilled holes on the horizontal boards is wrong - I had measured 16in in-between the vertical bars instead of having the holes be 16in on center of the vertical bars. Not a big deal, just had to drill another set of holes on each horizontal bar, or 52 new holes, apply some finish to cover the newly exposed wood, and buy shorter screws to plug the extra holes.
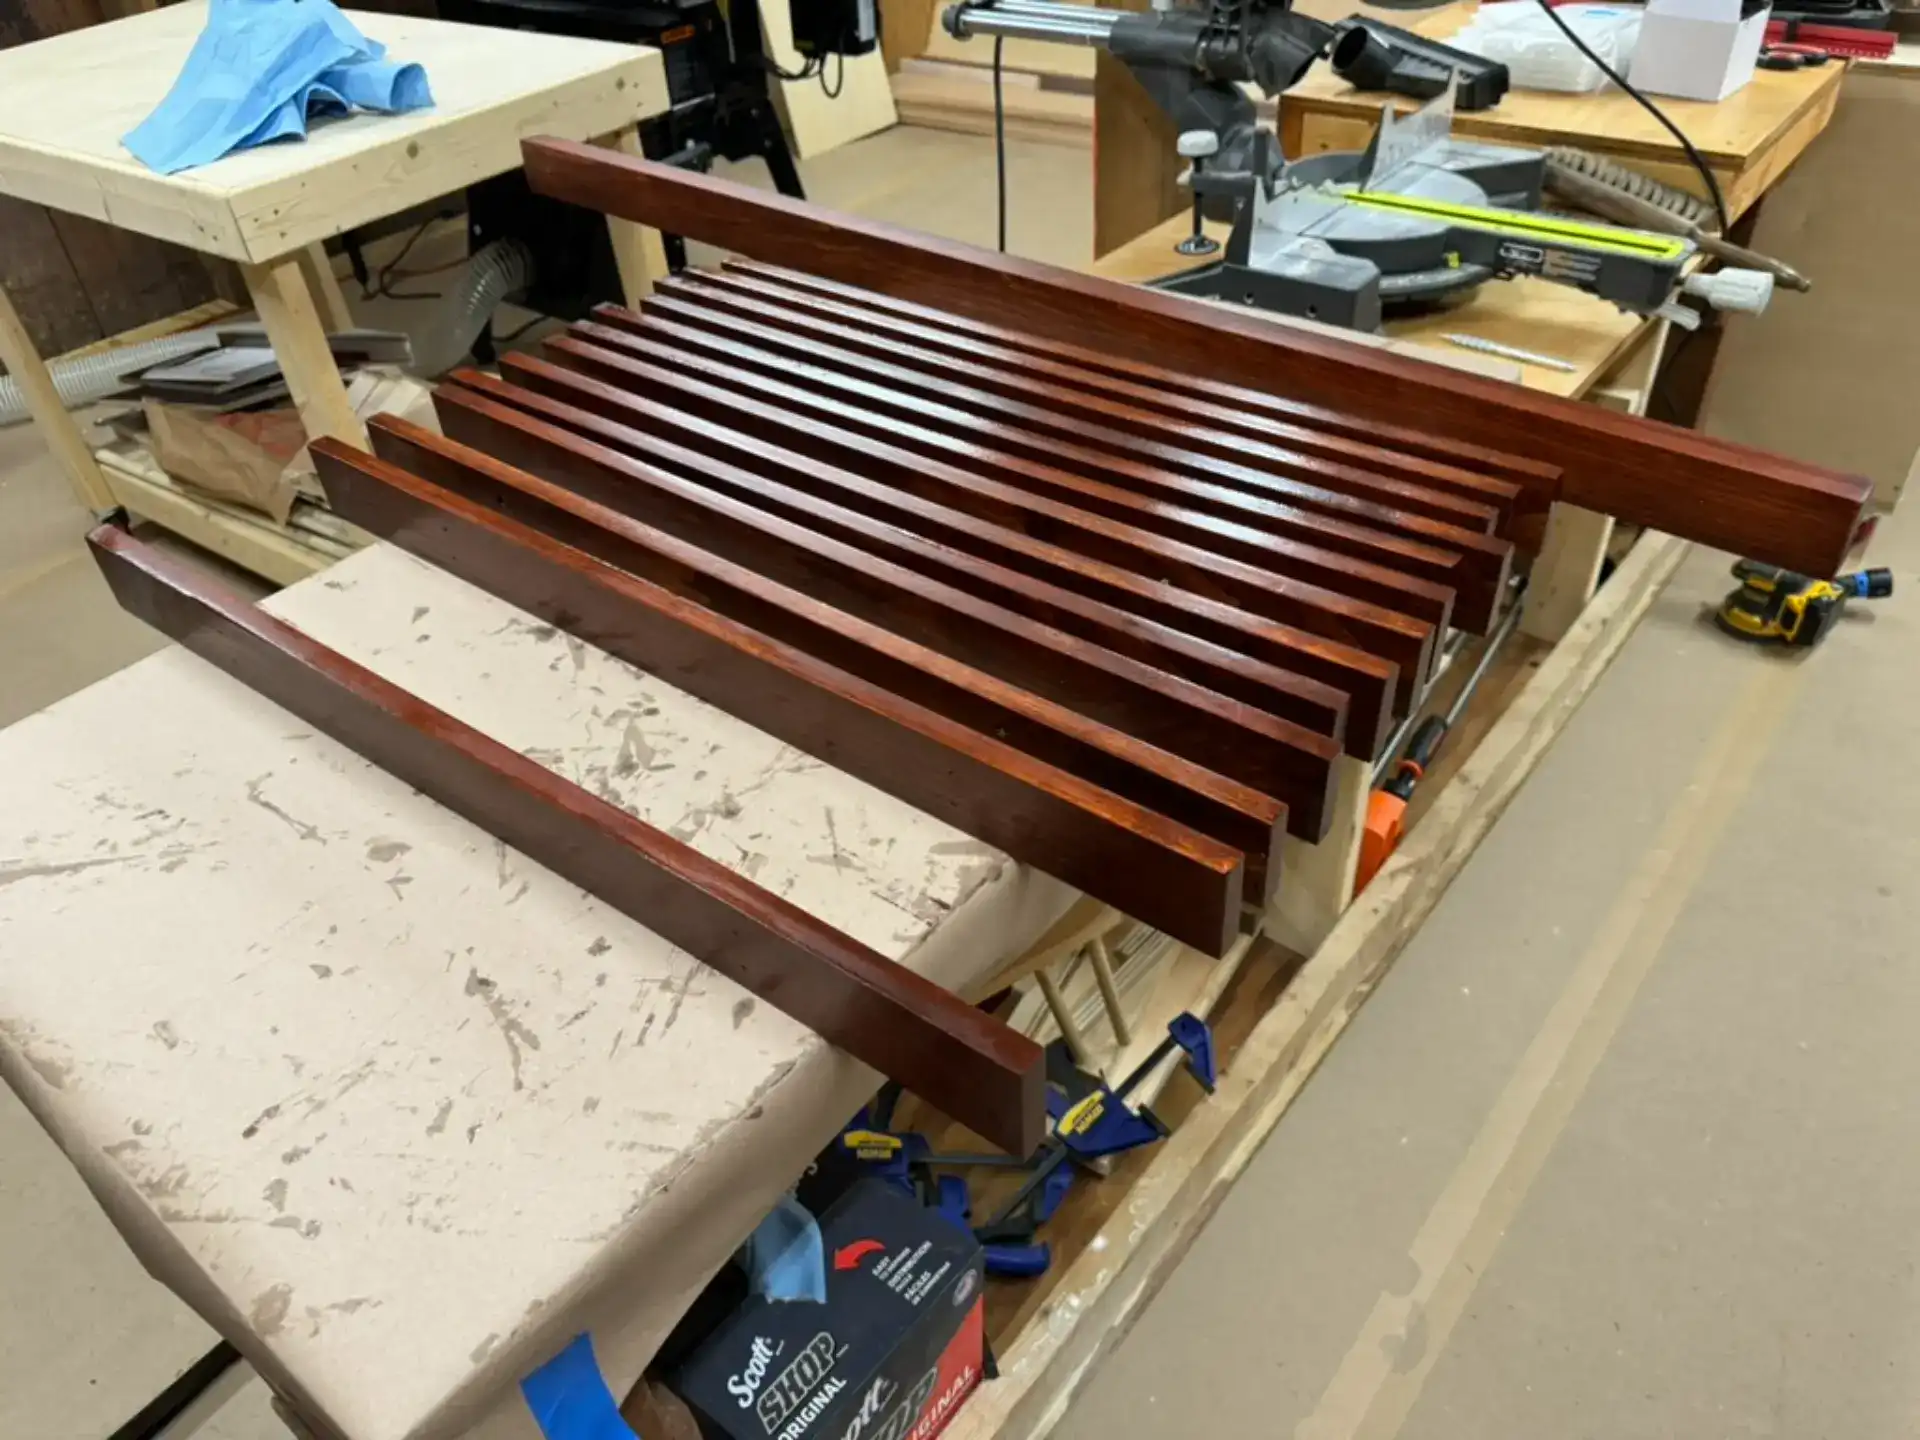
Step 5 - Final assembly
With all the parts ready, it is time to have fun putting everything together.
- Before placing things on the wall, screw into place the bottom and top horizontal boards to the vertical bars using the #8 1-1/4in screws. That way it is easier to ensure this are square.
- Locate the studs behind your dry wall using a stud finder or a strong magnet, which can detect the screws used to attach the drywall to the studs.
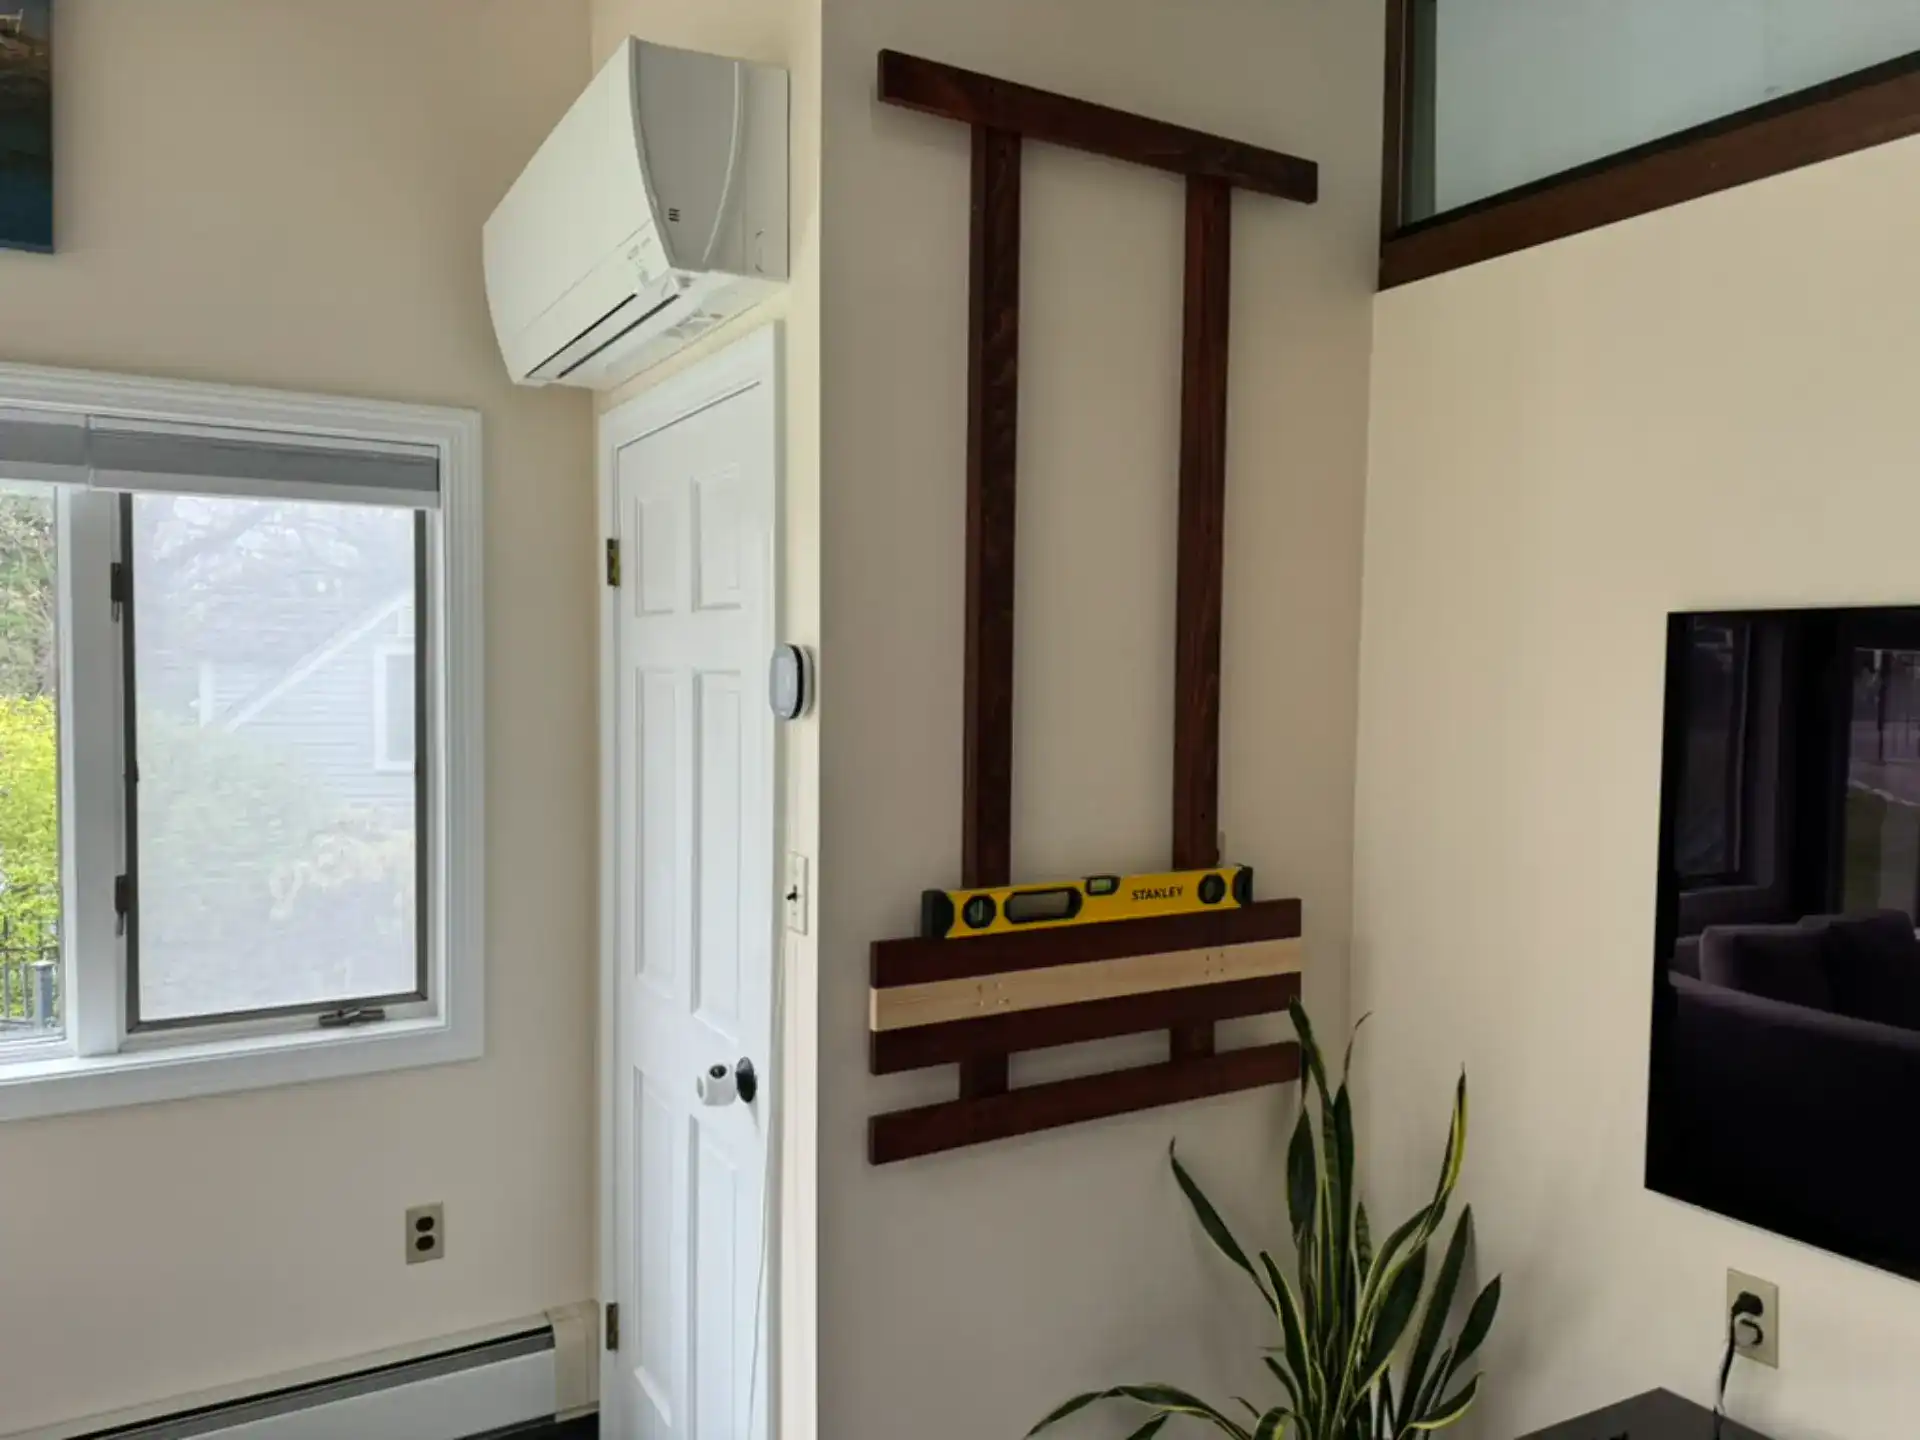
- Measure the desired height from the floor and securely fasten the assembled barebones frame to the studs using the 3in #10 screws. Pro tip: Use a level to make sure everything is aligned, both vertically and horizontally.
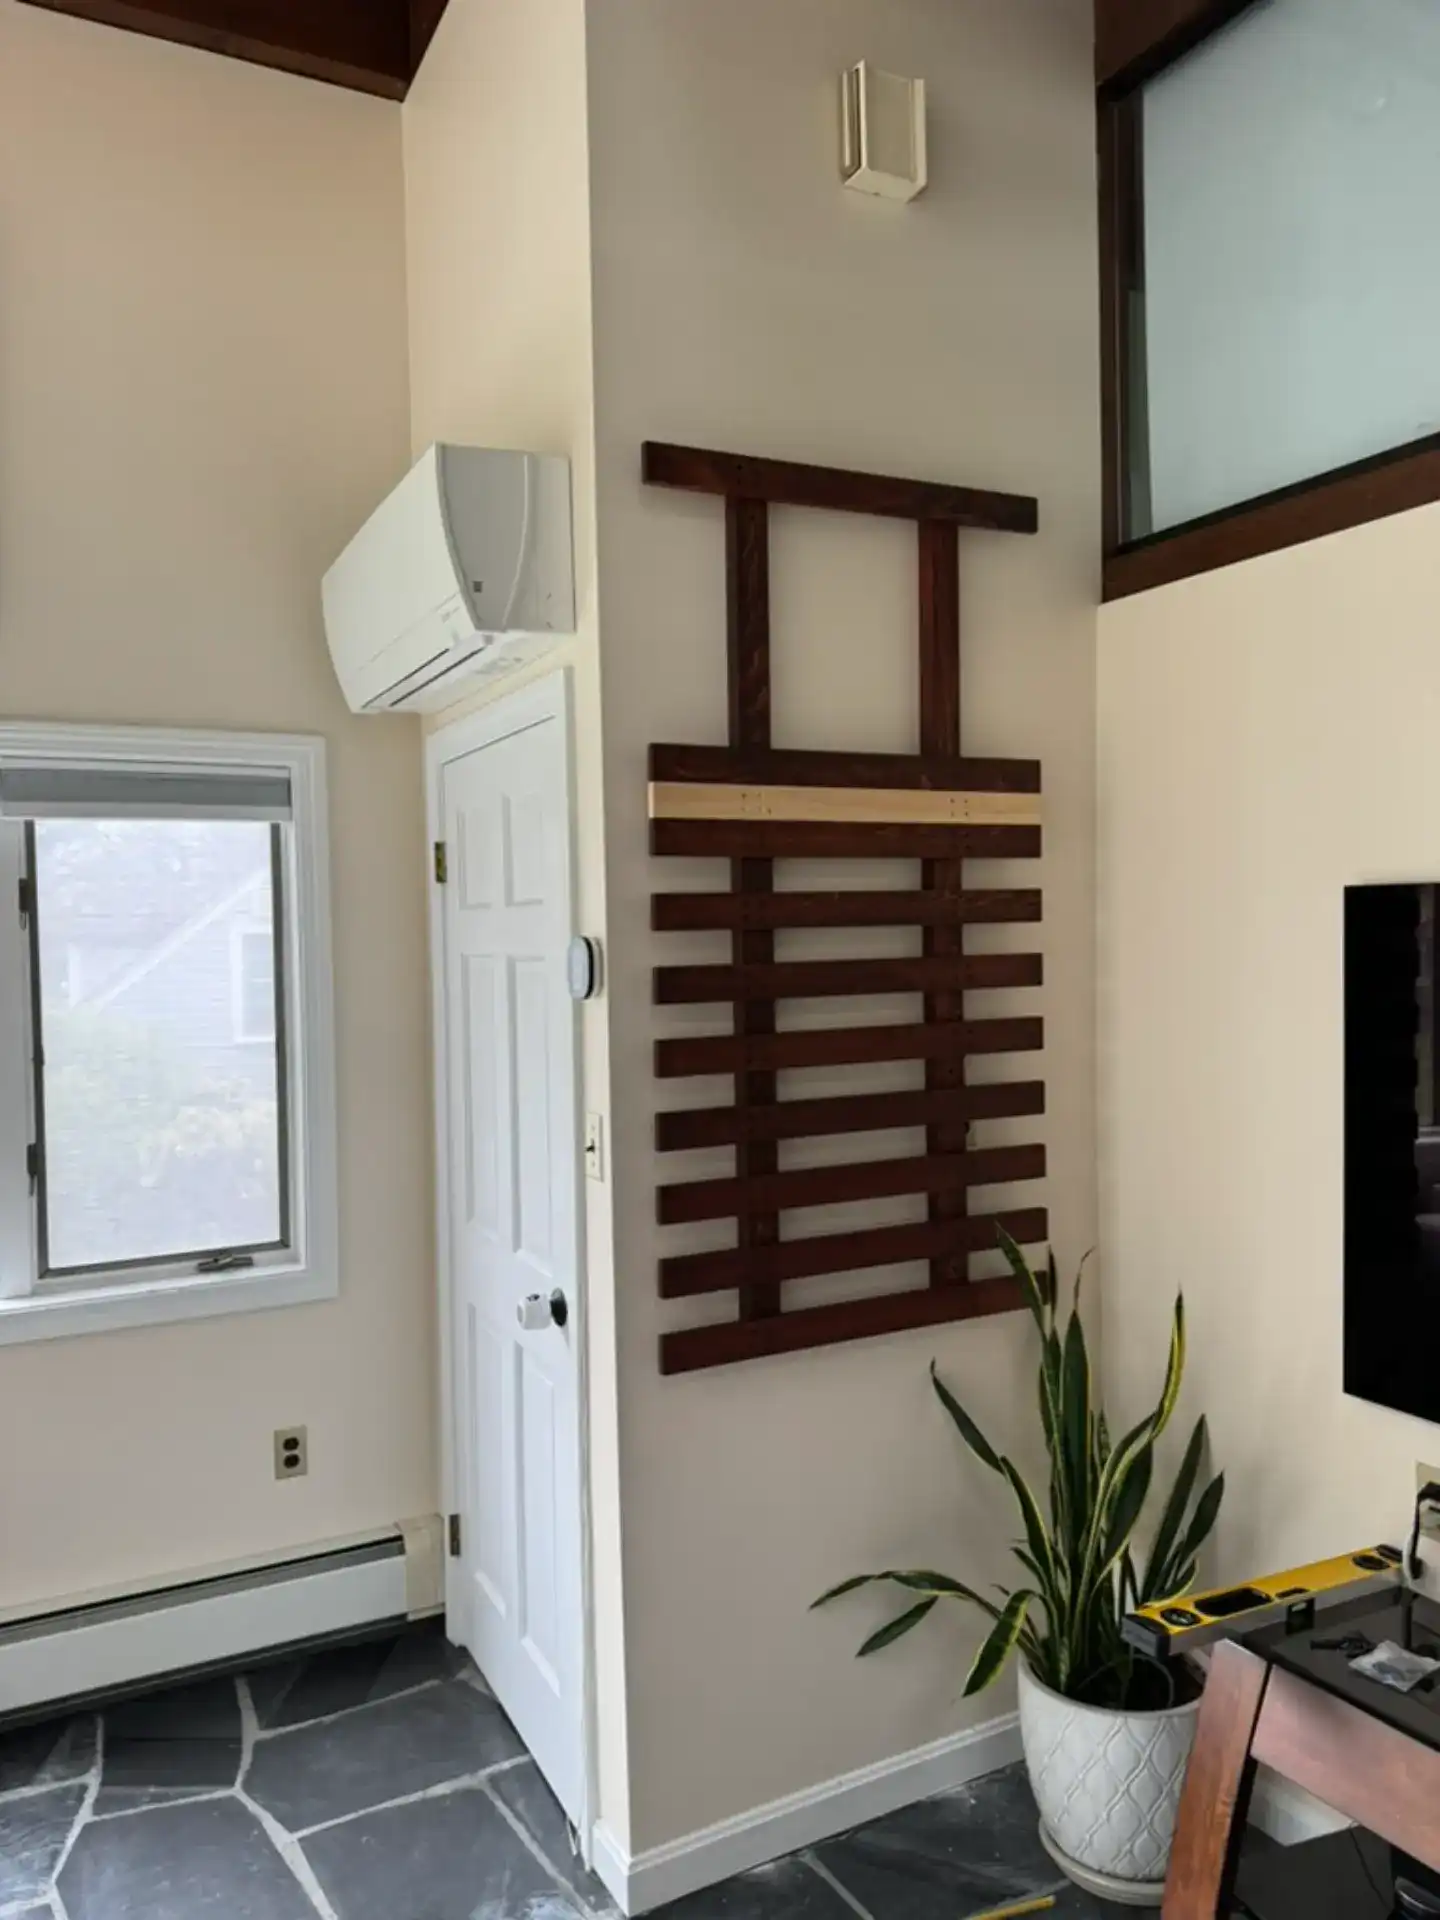
- Fill in the vertical space with the rest of the horizontal boards. Use the scrap spacer board to make things go faster, but still make sure to check that each board is level as some micro-adjustments may be needed. Given my earlier mistake, I had to also place #8 1/2in decorative screws in the second set of holes.
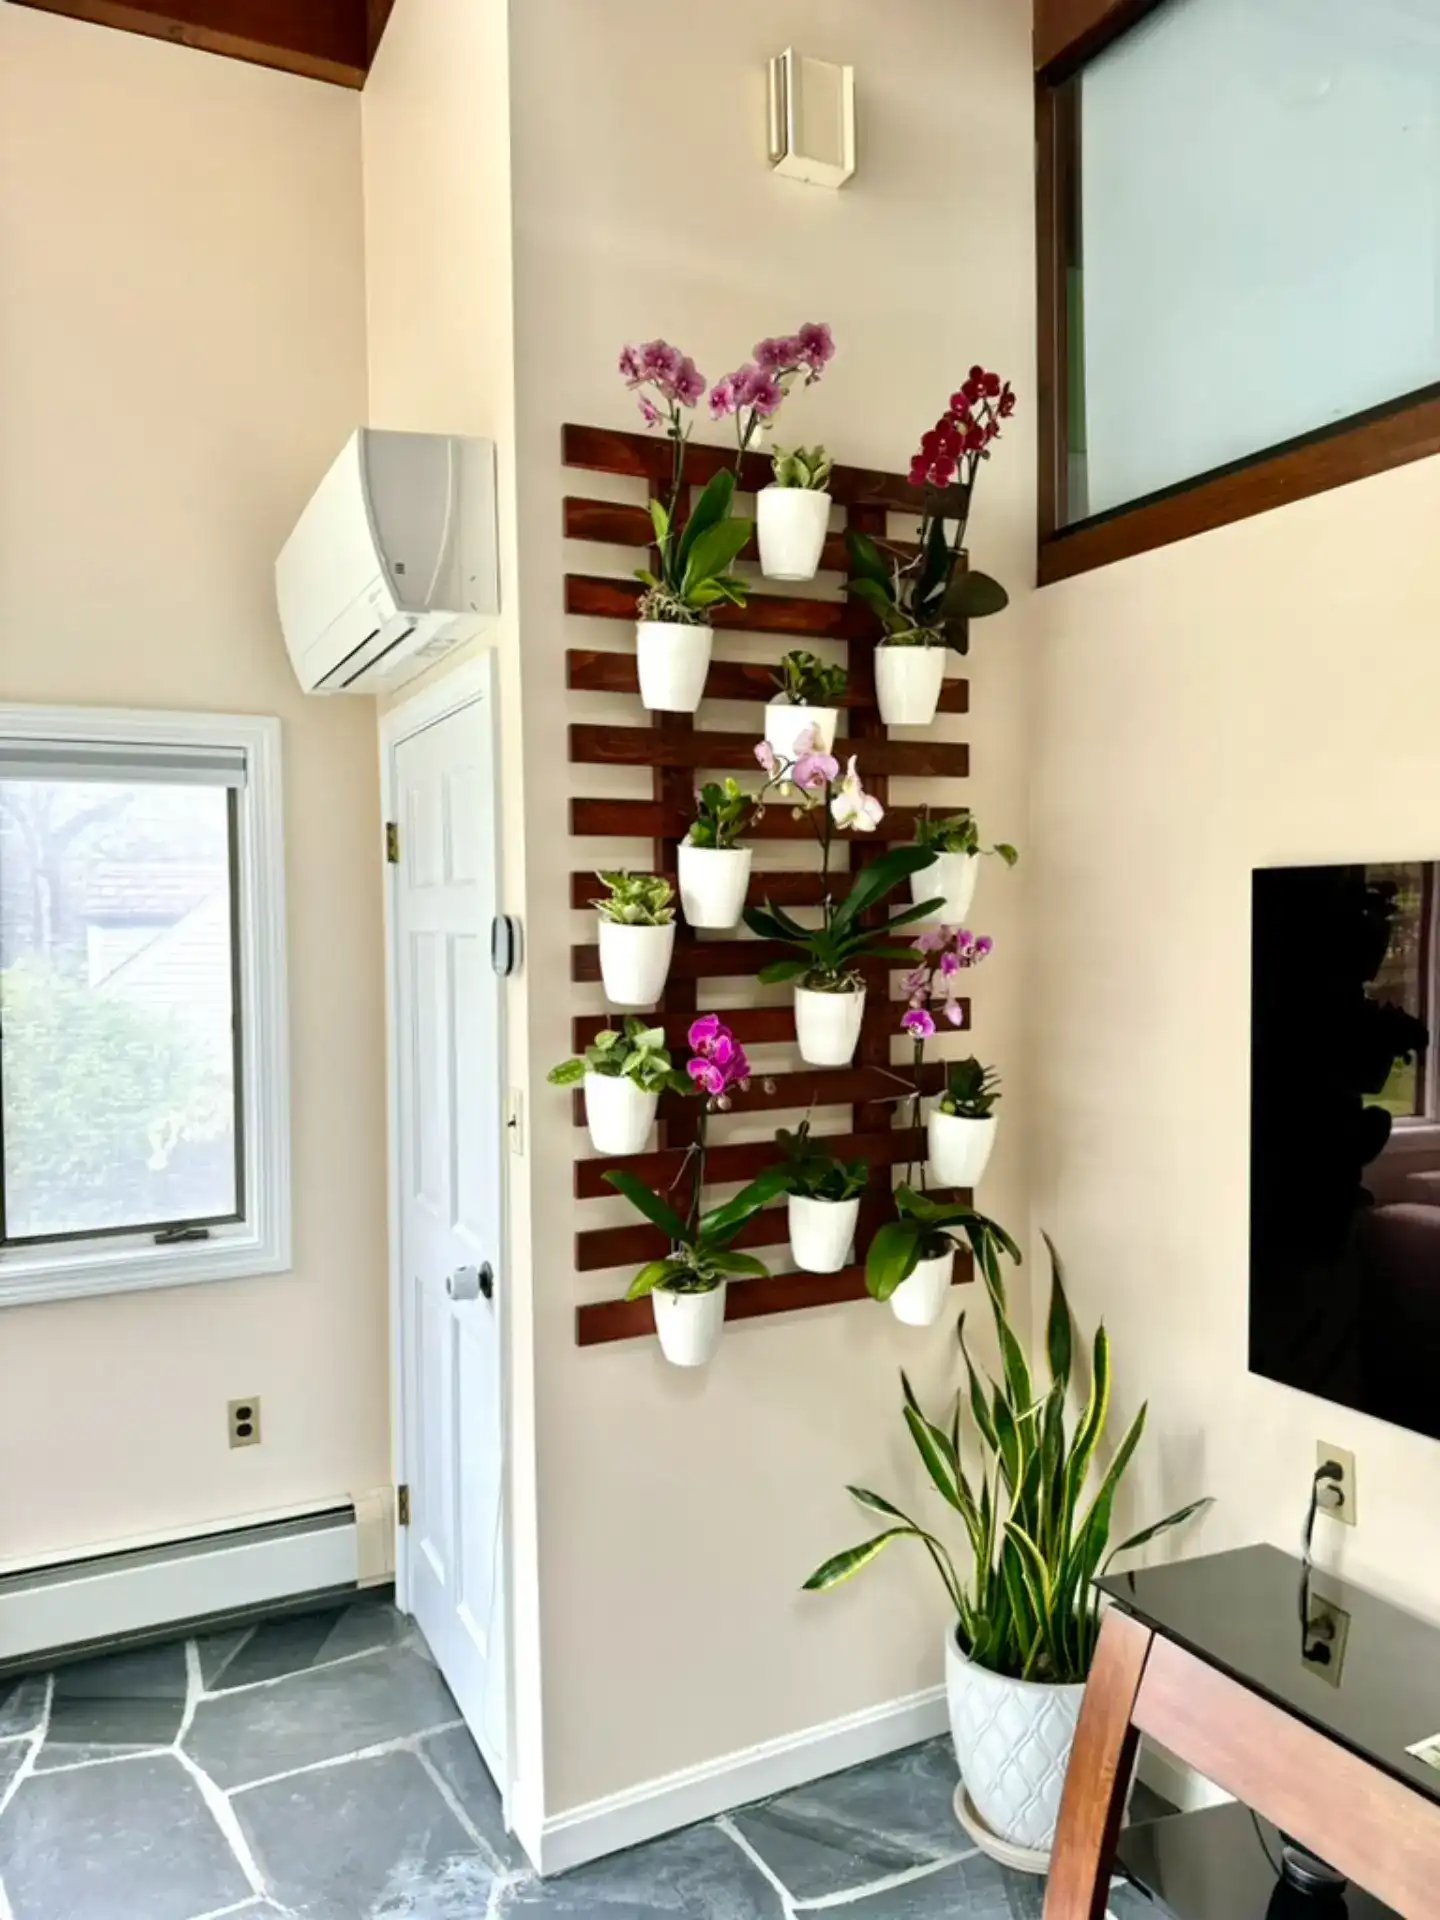
- Lastly, clean up your mess and do a final orchid wall test by hanging in some flowers.

End result
This playful build is literally a living wall of flowers, so I can't quite capture a photo of its end state but I can certainly show you what the beginning of the end of those flowers looks like. Enjoy!
Remember, the key to having fun is getting started playing with bits and atoms.